Recipe: Chocolate Chiffon Cake (three attempts)

Posted by vivien | Recipe | Monday 30 April 2012 9:34 pm
Tags: ,
26,482 Total Views

First Attempt:

I am following hslingkitchen‘s recipe for chocolate chiffon.

Chiffon-First-Attempt1

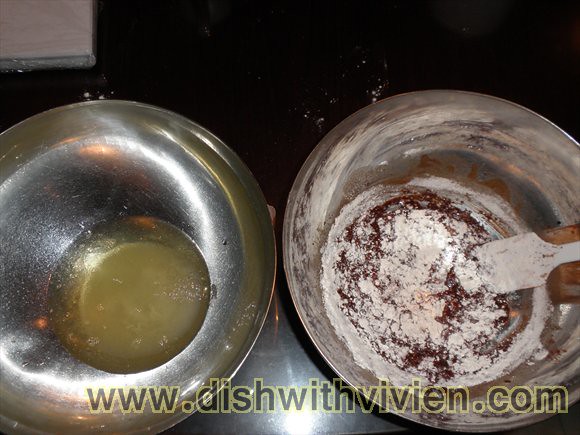
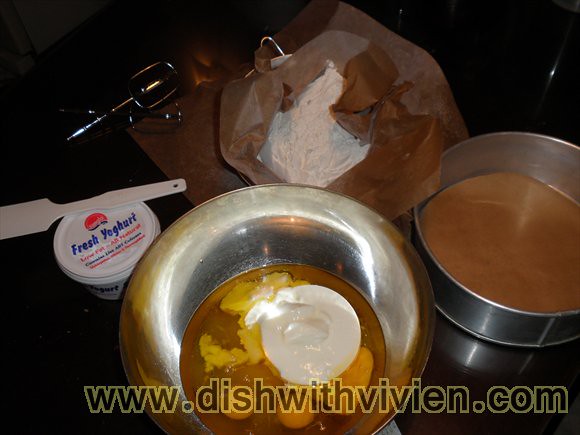
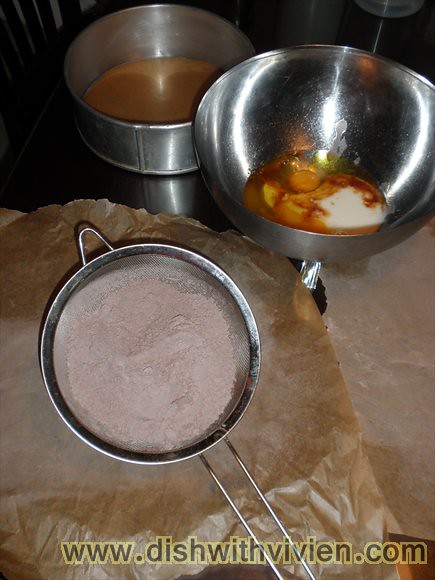
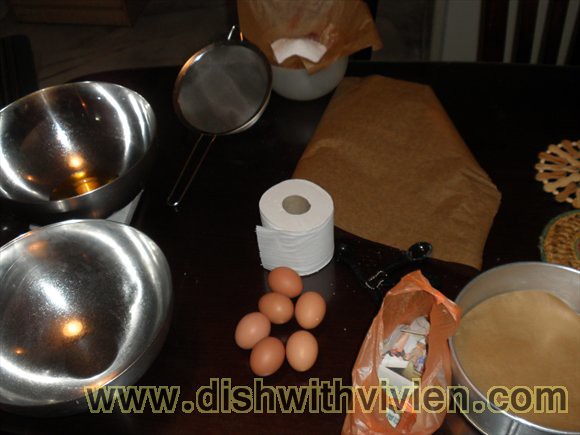
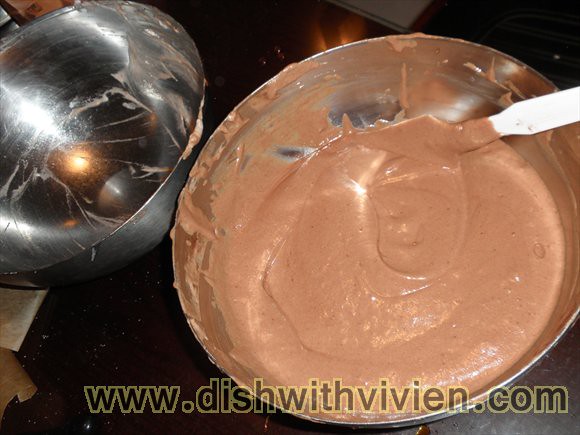
Above is egg white+caster sugar on the left… i added extra 10g of oil by accident, original recipe only requires 30g of oil

Chiffon-First-Attempt2

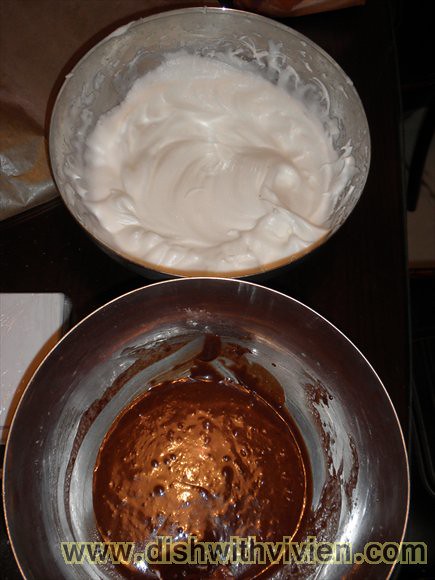
3 egg white beaten till stiff peak; chocolate + flour etc mixture on the right. Having 2 Ikea mixing bowls come in handy for such recipe

Chiffon-First-Attempt3

looks fluffy

Chiffon-First-Attempt4

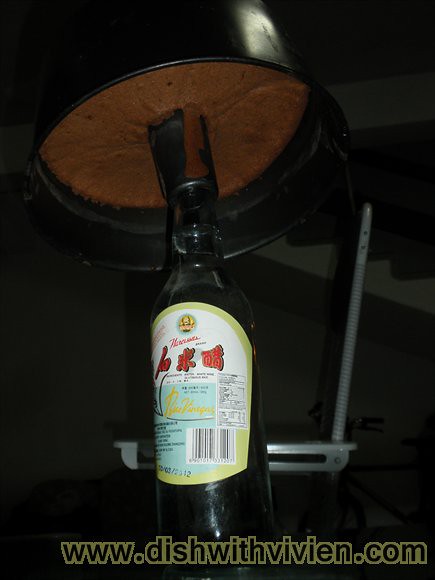
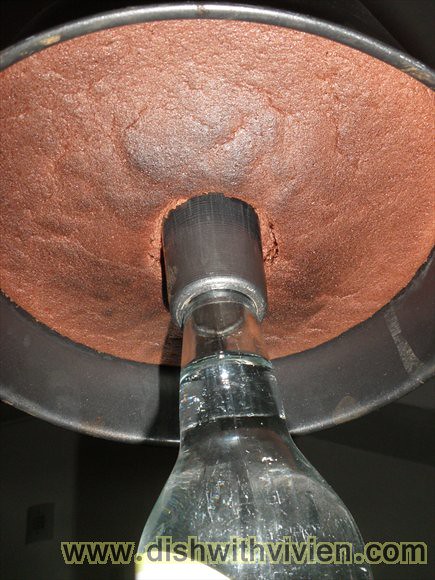
inverted on a white vinegar bottle after finished baking

Chiffon-First-Attempt5

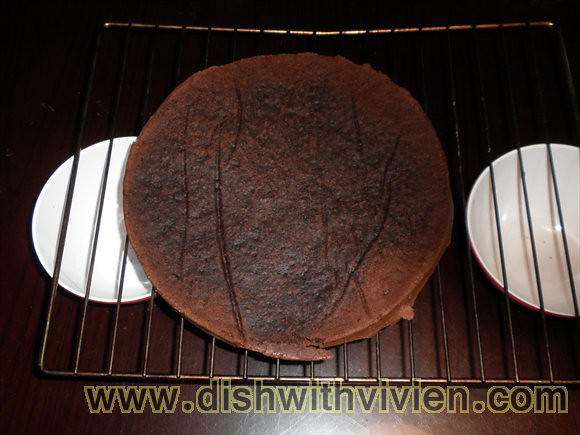
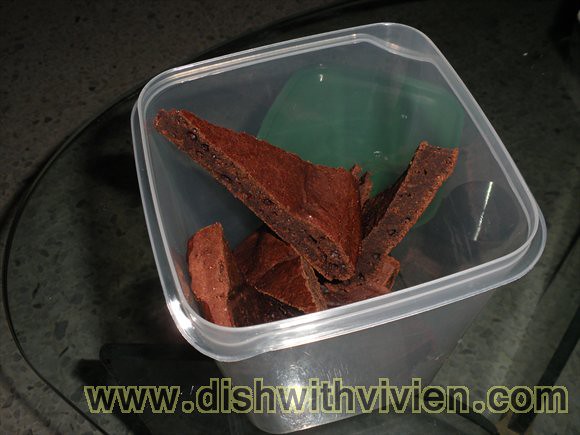
urgh, turns out dense, rough and not nice.

Second Attempt:

After the unsuccessful first attempt, time to follow the recipe exactly and make this a success. This time recipe taken from dailydelicious, The photo in the blog sure show a moist chiffon.  This time i have more time at hand baking on a Saturday morning instead of weekday night. Remember mum said chiffon recipe with comparatively more egg white than egg yolk will yields better and softer chiffon, so i think i will stick to this recipe from daily delicious instead of the previous one.

Chiffon-Second-Attempt1

I reduced the sugar to 145g instead of 170g specified in the recipe

6 small egg white instead of 5 large egg white

4 small egg yolk instead of 3 large egg yolk

Chiffon-Second-Attempt2

same method as previous: one bowl for egg white, the other for chocolate + flour etc mixture

Chiffon-Second-Attempt3

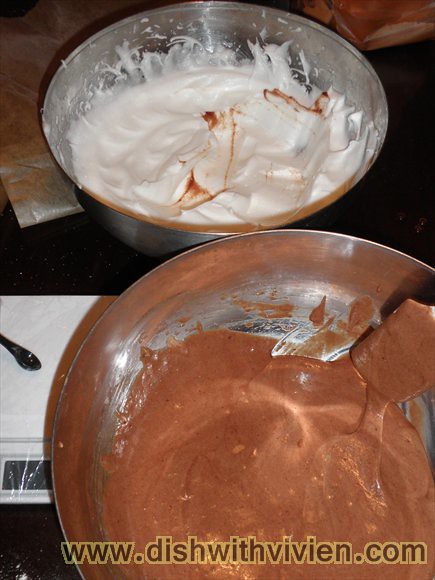
mix in one third of the egg white into chocolate mixture to lighten the batter before folding in rest of egg white.

Chiffon-Second-Attempt4

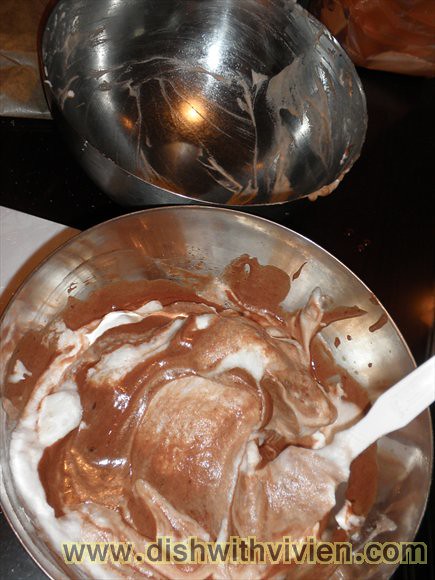
folding in gently, but ensuring all egg white are mixed in, else the finished products will have unsightly small pockets of egg white.
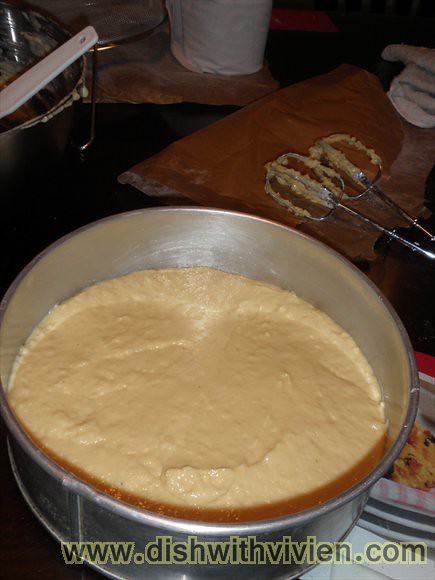
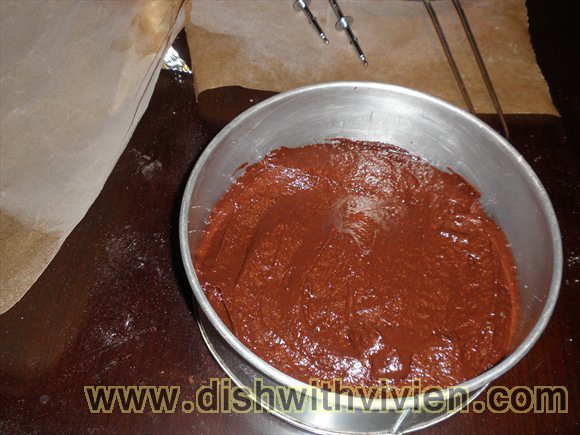
Chiffon-Second-Attempt5

all mixed

Chiffon-Second-Attempt6

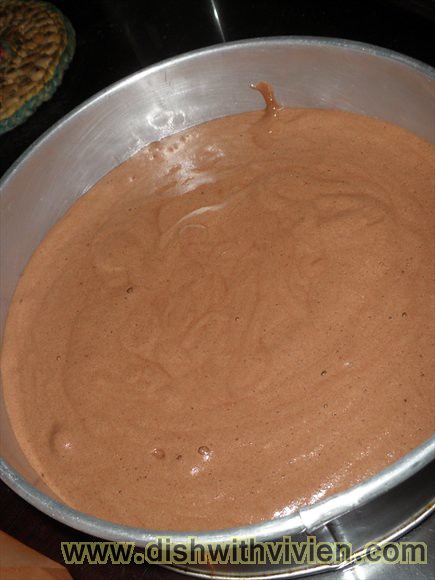
this time baking in a springform pan as mentioned in this recipe

Chiffon-Second-Attempt7

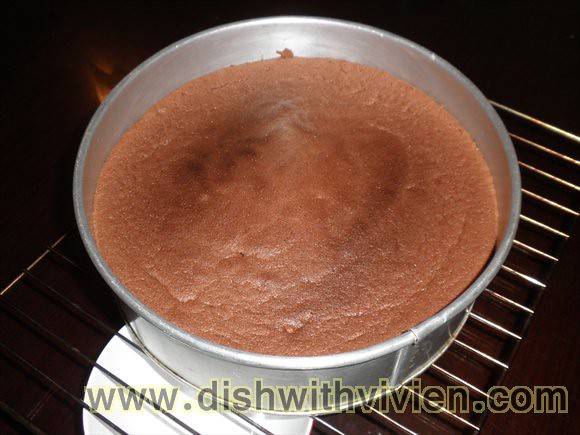
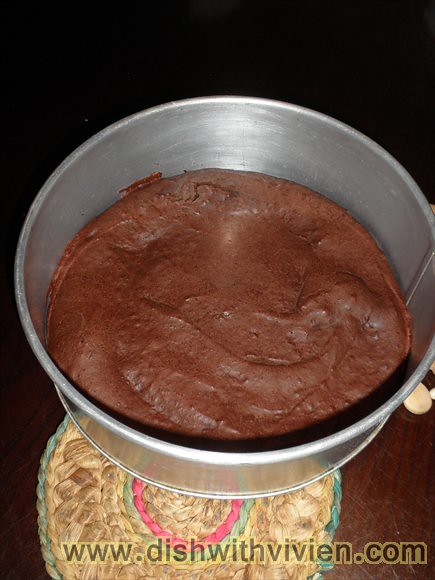
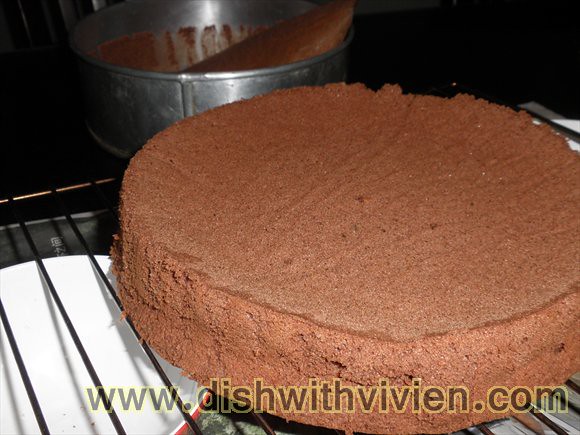
finished product, looks nice

Chiffon-Second-Attempt8

mistakes start here, i unmold the cake straight away after taking out from oven. Chiffon should always left to cool inverted before removing it from mold, else it will collapse and becomes dense cake instead of light chiffon

Chiffon-Second-Attempt9

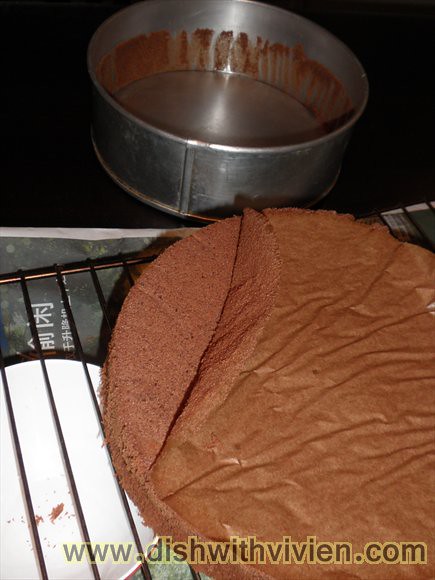
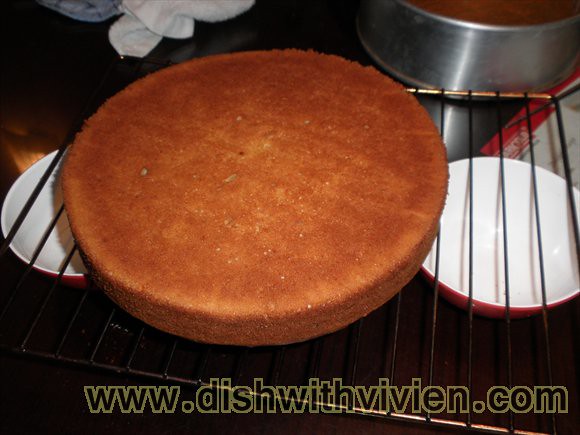
continued to remove the bottom lined baking paper

Chiffon-Second-Attempt10

looks nice at the point, the cake is still very warm at this point

Chiffon-Second-Attempt11

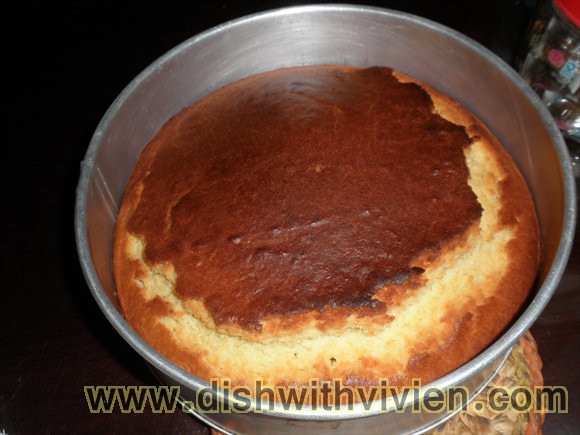
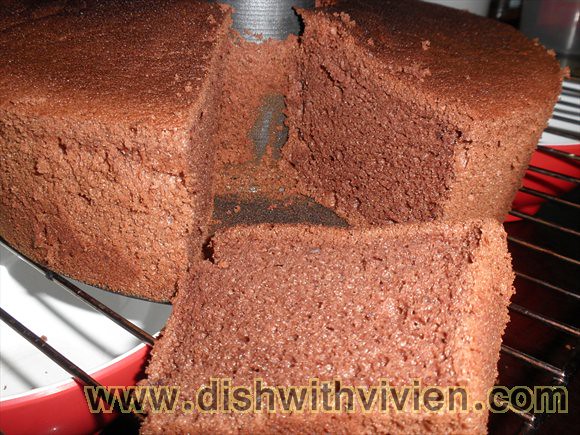
Alas the second attempt is a failure as well, this is what happens when the weight of the cake especially middle part collapse and becomes very dense, and no longer light, the side of the cake is slightly better.

Third Attempt:

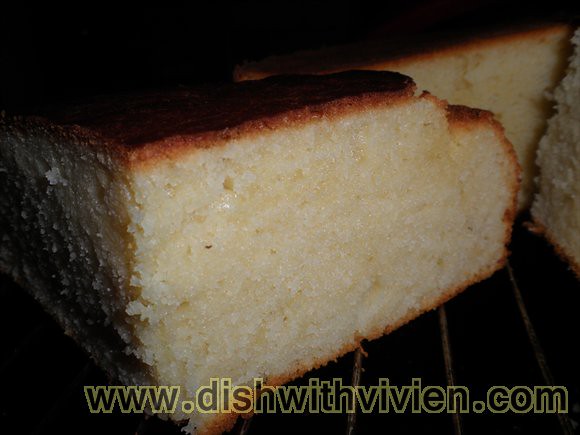
The third attempt should be my last try, using same recipe as in the second attempt(from dailydelicious). This time i bought large eggs, and followed exactly the recipe’s(3 egg yolk and 5 egg white). I baked it at 175 for 35 minutes(with the later baking stage lowered to around 160C), all the time keeping an eye on the cake as i am not following the temperature/timing in the recipe, but my mum’s(170-175C for 35 minutes). After the first 2 tries, pretty convince the extra 10g of oil on first try is not the reason it turned out to be a dense cake. Success!

Chiffon-Third-Attempt1

Chiffon-Third-Attempt2

Below are my two must notes for a successful chiffon making.

1) (most important) Chiffon cake must be inverted immediately after taking it out from oven and must be cooled inverted(2 hours to be safe)  before removing it from the mold. This is to ensure it will not collapse and become a dense cake, case in point happened on 1st and 2nd attempt.

2) Also very important, do not open the oven too long that the cake collapse even when still being baked in the oven, case in point my first and second try, both cake “shrunk”/collapsed even in the oven after i did the toothpick test. For the 3rd attempt, i didn’t do the toothpick test at all.

I find the temperature is pretty forgiving, it  can range from 150 Celcius to 175 celcius. I find maintaining 175 Celcius for 35 minutes baking can burn the top of chiffon, so 175 Celcius for initial 15mins perhaps and 160 Celcius for the remaining 20 minutes could be doable, will put it to test. While some recipe specifies 150 Celcius, i couldn’t be bothered for now to have this low temperature and having to wait for it to finished baking for a longer time 😛


The Red Beanbag, Solaris Dutamas

Posted by vivien | Kuala Lumpur and Selangor | Saturday 28 April 2012 10:41 am
Tags:
22,639 Total Views

RedBeanBag1
Australian inspired breakfast joint has became popular this past year, most notably is Antipodean in Bangsar (next to La Bodega) and also The Red Beanbag in Solaris Dutamas. Last i know red beanbag only open till 5:00pm daily.

We are looking for Red beanbag in Solaris Dutamas, turn out we walked opposite of where it is situated, might as well take a photo to show location of this restaurant.

RedBeanBag2

Breakfast menu, served all day, till 5:00pm which is their closing time

RedBeanBag3

View from Red beanbag which is situated one floor ground up.

RedBeanBag4

bean bag decorations

RedBeanBag5

Signature breakfast, RM19.90 nett, yummy

Address: The Red Beanbag
Lot A4-1-8, Solaris Dutamas
(opposite Publika’s open area)
Jalan Dutamas 1,
50480 Kuala Lumpur
Tel: +603-6211 5116
Busines hour: 8:30am till 5:00pm daily
Post by other blogger:

thenormadGourmand

KampungBoyCityGal

Bangsar Babe

Sneaky Lily

Sun, Sea and Sand

CC Food Travel


Restoran Mosin, TTDI

Posted by vivien | Kuala Lumpur and Selangor | Thursday 26 April 2012 10:08 pm
21,227 Total Views

Mosin1

Restoran Mosin in TTDI, same row as TTDI Pizza Hut is the place to go when i am craving for naan, their garlic naan to be specific. As per above addresses in the receipt, there are actually 2 branches of Mosin in TTDI alone, one along Jalan Wan Kadir 2, the other along Jalan Aminuddin Baki

Mosin2

My favourite garlic naan(RM3.50), not oily at all, the way i like it instead  of some other mamak which has butter brushed on

Mosin3

Nasi lemak(RM2.50), just ok

Mosin4

rice and noddle dishes

Mosin5

Naan menu, their mumtaz naan is quite famous with butter, mayo, cheese, tomato etc on top, which i find it to look very cloying.

Address: Mosin

No. 2, Jalan Wan Kadir 2, Taman Tun Dr. Ismail, 50000 Kuala Lumpur

Post by other blogger:

neynapathi

Taman Tun Food Guide


Recipe: Yogurt Cake

Posted by vivien | Recipe | Friday 20 April 2012 10:28 pm
Tags:
21,493 Total Views

YogurtCake1

Venture into this recipe: Yoghurt cake with skepticism, the ingredients looks simple and pretty much anticipate it to be a simple plain cake, recipe taken from The Kitchn. Although even the famous french blogger Clotilde from Chocolate & Zucchini wrote a post on how wonderful yogurt cake is and how easy it is to make it that it is often the first cake French kids learn to make. My hopes still aren’t high, i am thinking it will resemble a plain sponge, maybe a good sponge, but still a plain one as there is no distinct flavouring, mainly yogurt and some ground nutmeg. But i am surprised at how lovely it taste especially on the next day when the crusty top has soften, and can really taste the soft texture of this cake, a good cake without strong buttery/milky taste of butter cake, as it is made with olive oil. Yum~ A keeper.

Above is wet ingredients

370g container of Sunglo yogurt (recipe calls for about 360g, so i didn’t scrape the yogurt container clean…)

140g olive oil (i used extra virgin olive oil which is the only type available at home)

190g sugar (as usual, i use less sugar, recipe originally calls for about 230g)

350g flour

i used very little freshly ground nutmeg due to not knowing whether it will be overpowering (can use more next time)

YogurtCake2

Pour into spring form pan or any type of pan with bottom lined with baking paper and side slightly greased

YogurtCake3

Doesn’t look pretty, still not knowing how wonderful this cake taste 😛

YogurtCake4

Put on rack for cooling

YogurtCake5

Nice caramelized colour, i find this cake tasted ok when warm, best eaten when completely cool or even the next day. The texture remain soft and yummy on the next day.


Recipe: Low Fat Brownie

Posted by vivien | Recipe | Friday 20 April 2012 10:05 pm
19,251 Total Views

LowFatBrownie1

This low fat brownie recipe taken from The Food Site, whole thing contains only 1.5 tablespoon of oil. Above is wet ingredients(yogurt, eggs, vanilla essence and vegetable oil) and dry ingredients all sifted together(flour, baking powder, cocoa powder and brown sugar)

Amount in metric which i used:

140g flour

1/2 tsp baking powder

4 TBSP cocoa

80g brown sugar (originally recipe calls for about 90g)

1 small container of yogurt(bought small 135g of yogurt)

LowFatBrownie2

i think i overwork the batter a bit, i was mixing it and wondering whether i got the measurement correct as it looks dry while i am still folding the flour mixture into wet ingredients, and before long, the mixture feels thick and not even in pourable consistency

LowFatBrownie3

After 20 mins in 180 Celcius oven

LowFatBrownie4

doesn’t look good, don’t know why the bottom of the cake looks to have blackish sediments

LowFatBrownie5

feel chewy and not nice

I will not make this again, low fat(1.5 tablespoons oil) and low sugar(only 80g of sugar) doesn’t taste good.


Next Page »


Designed by Zinruss.com | Powered by Wordpress | Header image by Sandra Khoo @ sandorasan