Recipe: Orange Chiffon

Posted by vivien | Recipe | Wednesday 24 August 2016 10:10 pm
Tags:
86,265 Total Views

OrangeChiffon_1

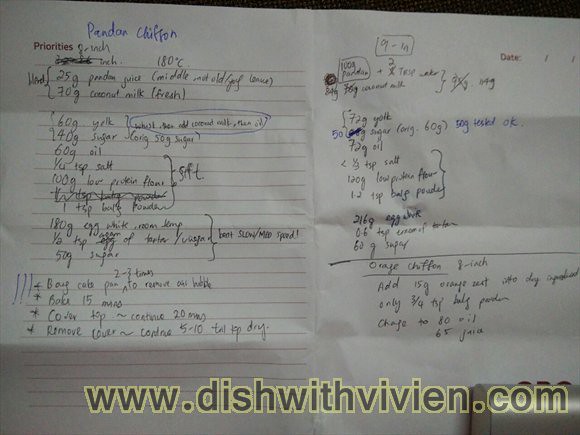
my scribbles of pandan & orange chiffon,  8 and 9-inch recipes… if you can understand

OrangeChiffon_2

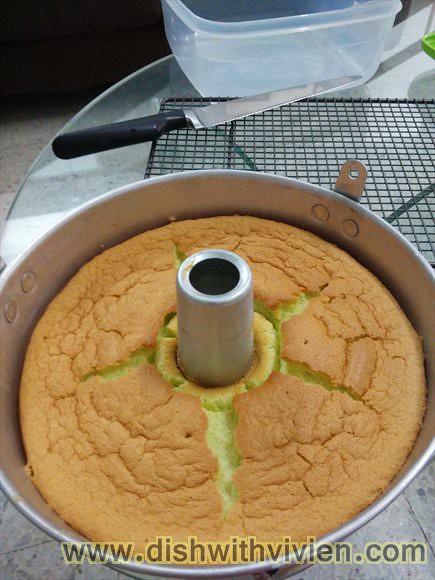
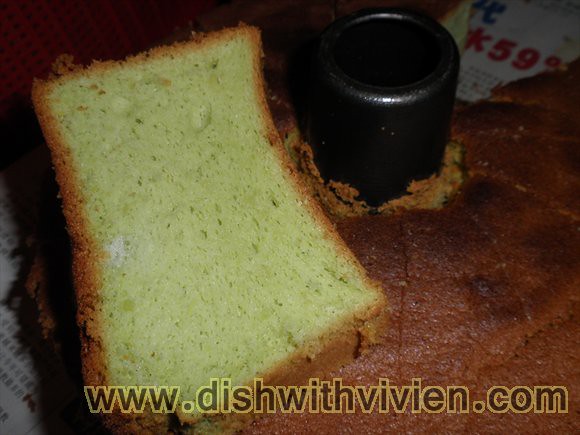
pandan chiffon, feels slightly too oily, oil left on hand after eating it.

OrangeChiffon_3

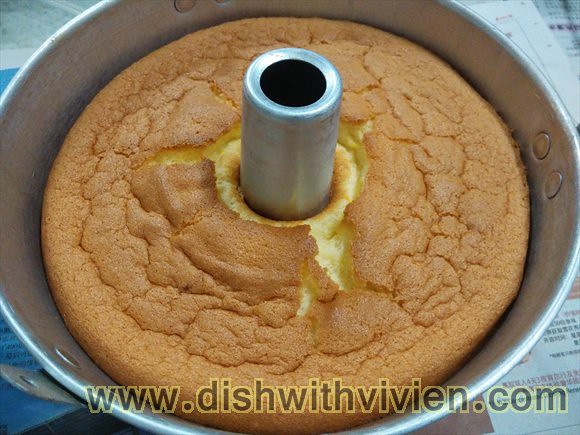
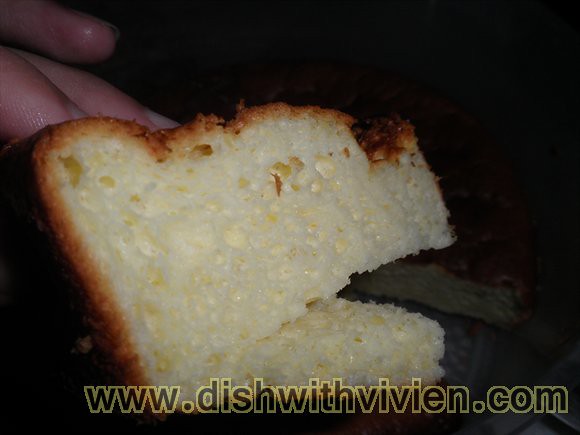
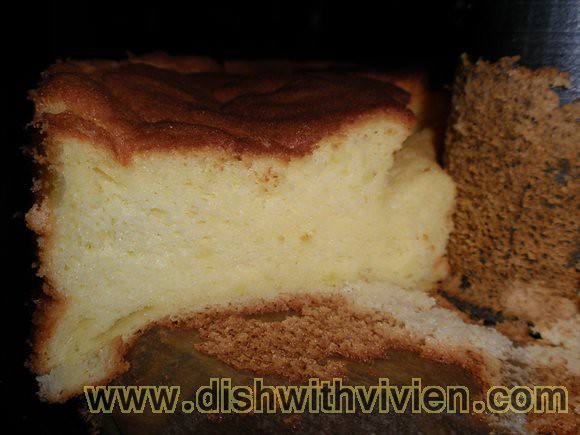
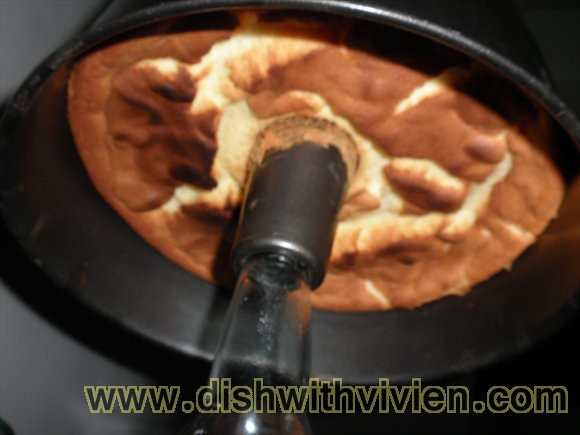
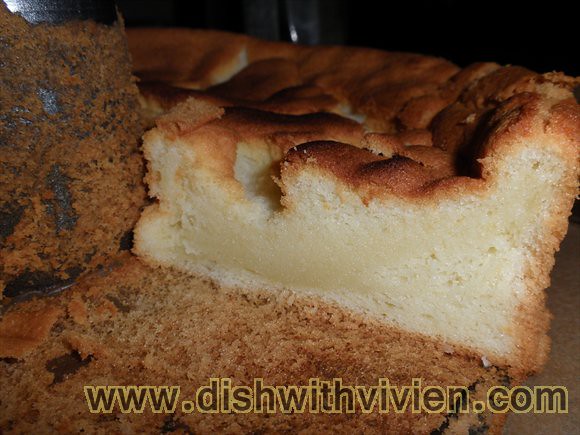
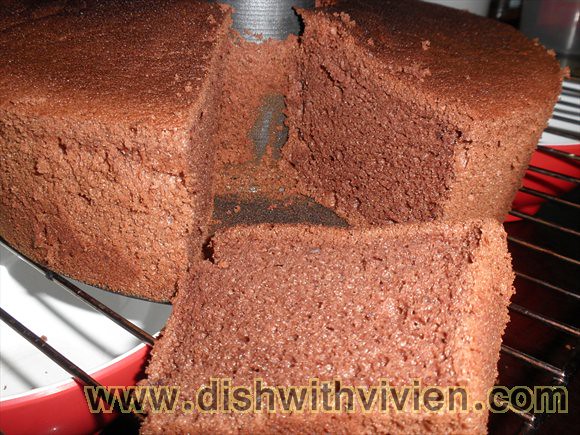
This orange chiffon however is a winner, it is a great recipe, adapted from KitchenTigress.

I have proportionate her recipe which is for 8-inch mold to fit my 9-inch mould, i multiply all ingredients by 1.2 times, and also reduced the oil slightly, as the pandan chiffon i made using her recipe turn out a bit oily, which i am not quite sure why (whether the fresh santan i used is too thick, ie too much coconut oil, or because i did not beat the egg-yolk/santan/corn oil mixture till mayonaise-stage), so i am just going to reduce the oil very slightly for this orange chiffon. I also reduced the sugar slightly, and the chiffon turn out fine.

9-inch orange chiffon recipe:
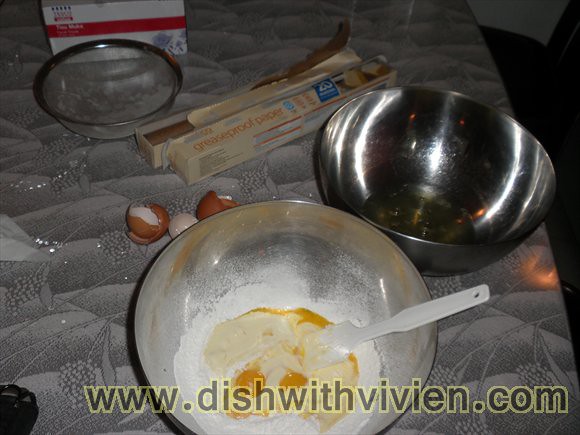
Egg yolk mixture:

72g egg yolk (around 4 yolk)

50g sugar (i have reduced sugar slightly and the chiffon turn out fine, original recipe is 60g, i think 50g is the lowest amount you can go, because i tried 45g at one time, and the chiffon is just a bit sourish from the orange, so i think 50g is the amount to go)

78g orange juice (freshly squeezed)

90g canola oil (don’t use palm oil which has a kinda smell, original is 96g)

18g orange zest (from 1.5 orange)

Sift together:

120g low protein flour

0.9 teaspoon baking powder

1/3 teaspoon salt

Egg white mixture:

216g egg white (from around 6 eggs)

small pinch of cream of tartar (less than 0.6 teaspoon)

60g sugar

Direction:

– Preheat oven to 180 Celcius

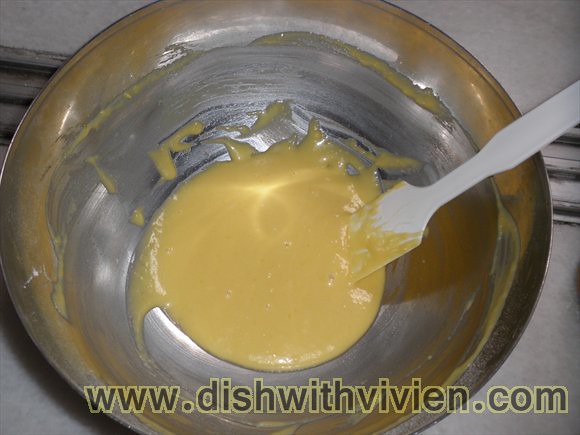
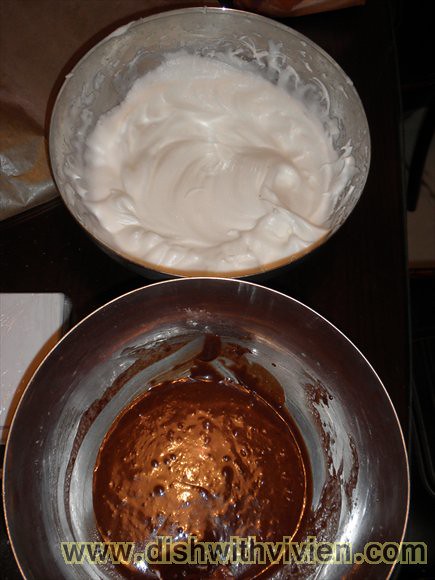
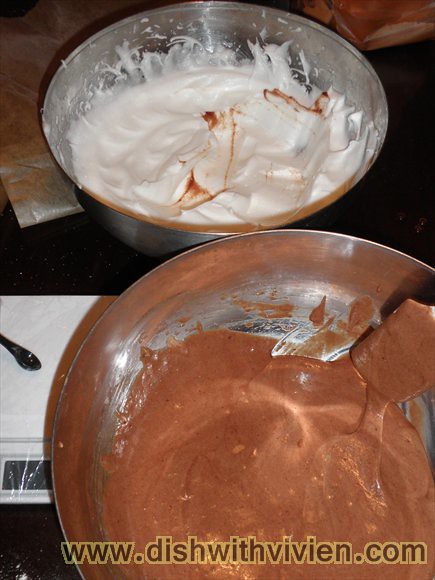
– Whisk egg yolk and sugar till thick, add orange juice slowly while whisking

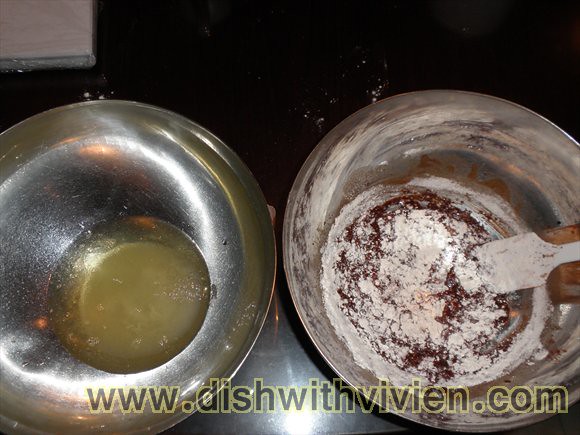
– Add canola oil slowly while whisking, make sure to whisk till mayonaise-thick texture

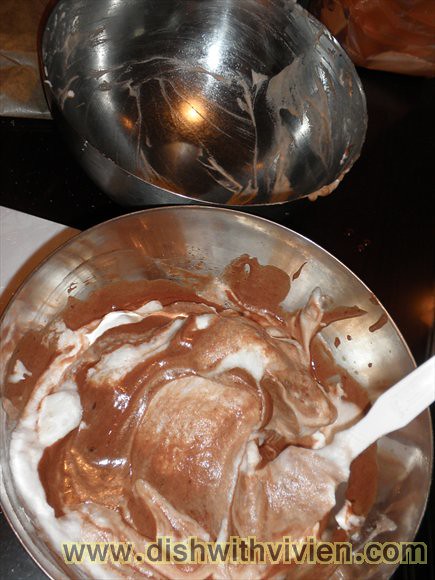
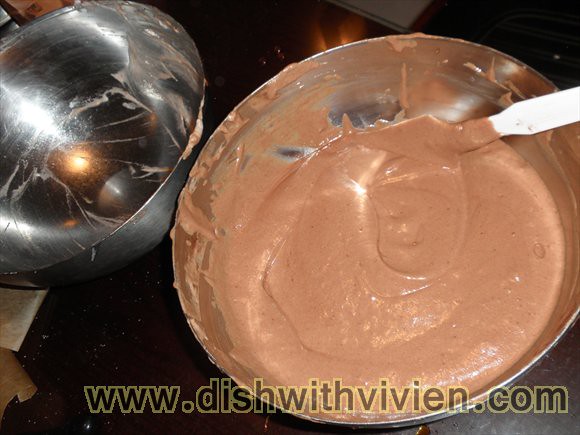
– Mix flour mixture in 3 additions

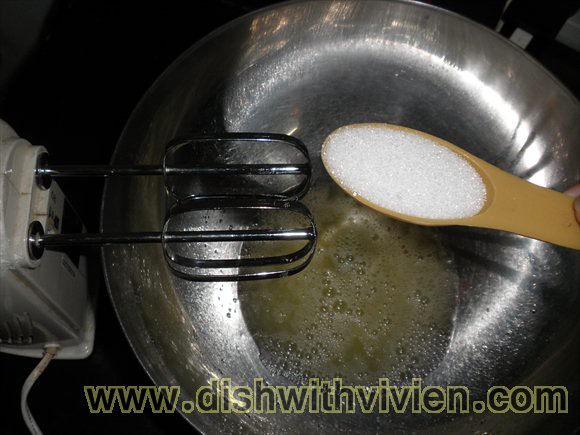
– Beat egg white with cream of tartar till slightly foamy. In LOW speed(so that air bubble will be fine and small), add sugar in 3 additions, and beat till the egg white won’t slide from the bowl when overturned.

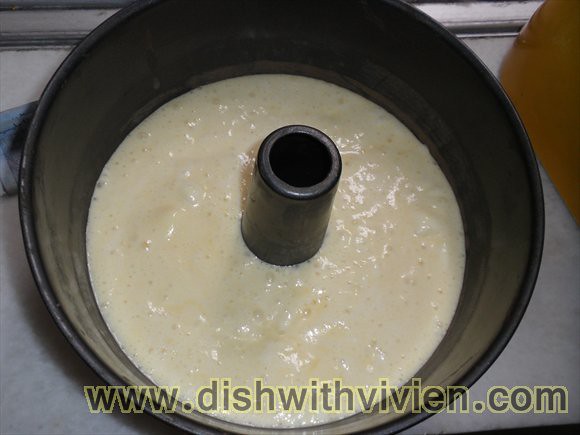
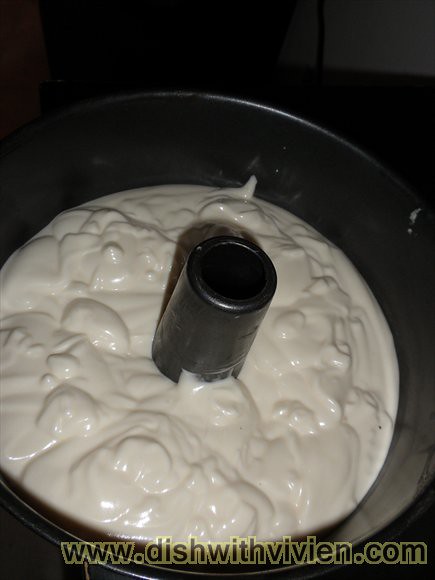
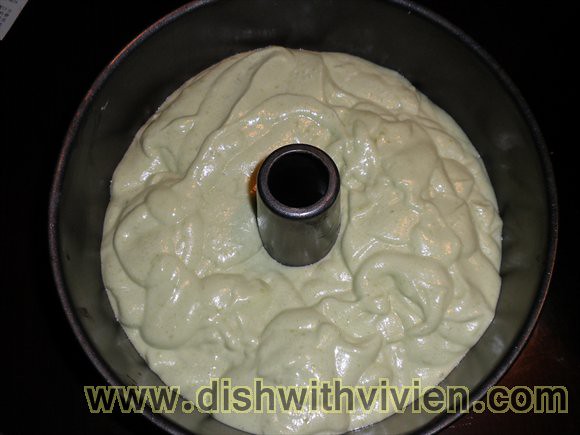
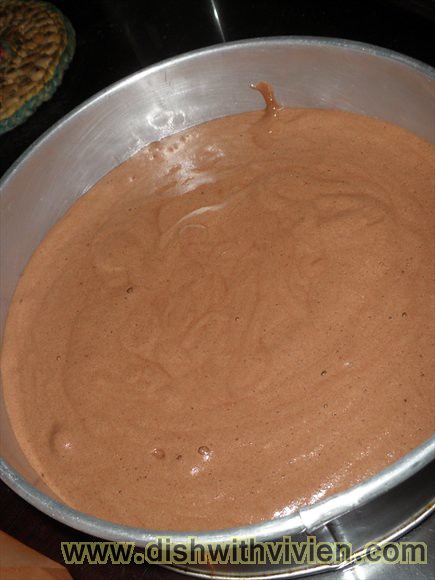
– Fill mould, bang 3 times/use and cake tester to remove air bubble, then level top.

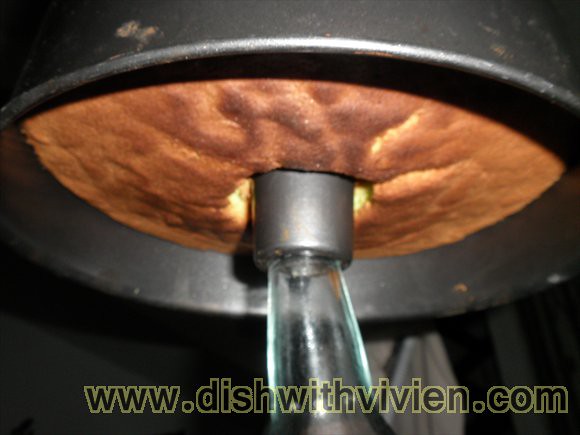
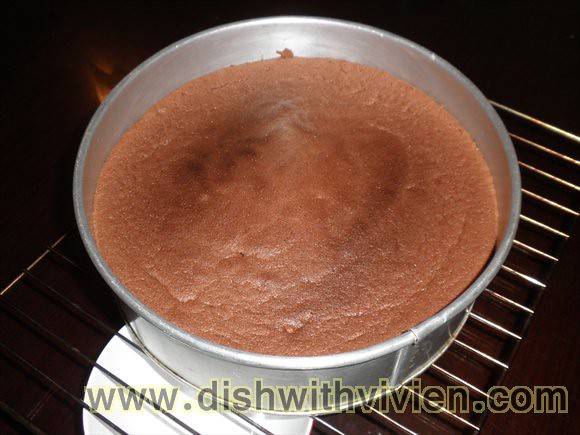
– Bake 15 minutes uncovered

– Cover with foil loosely and bake another 20 minutes

– Lastly, bake about 7 minutes(maximum 10 minutes) uncovered

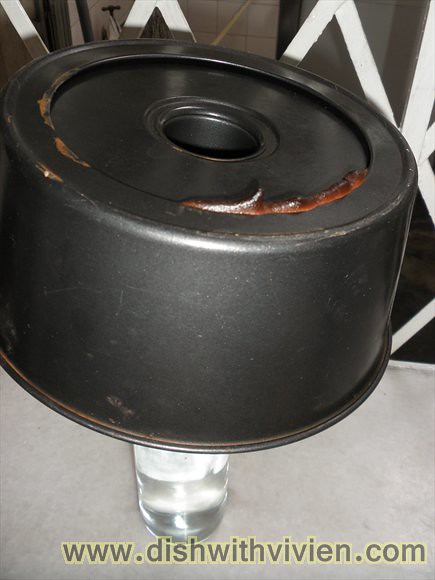
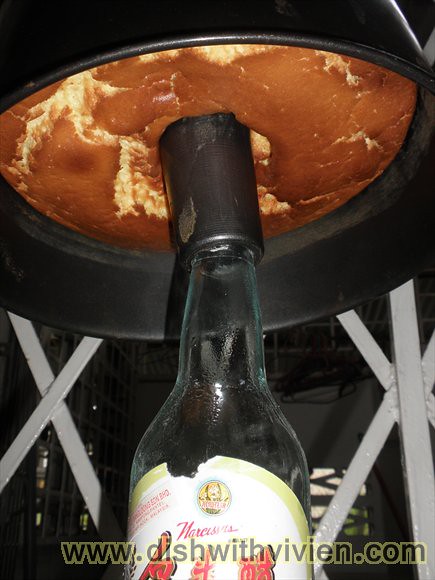
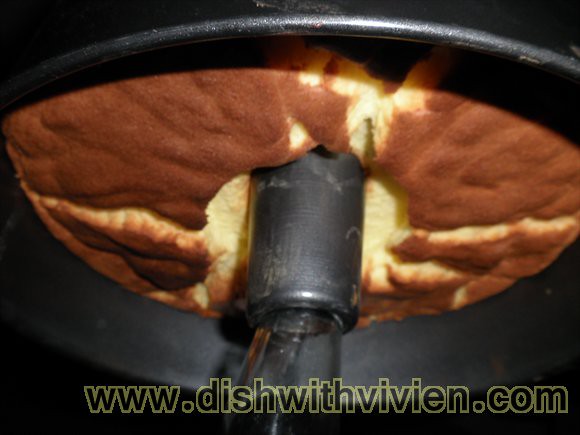
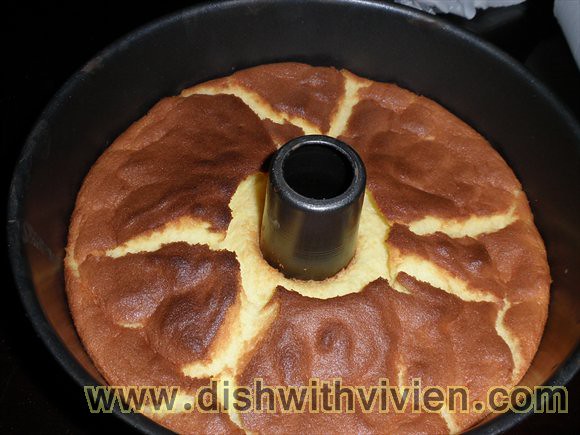
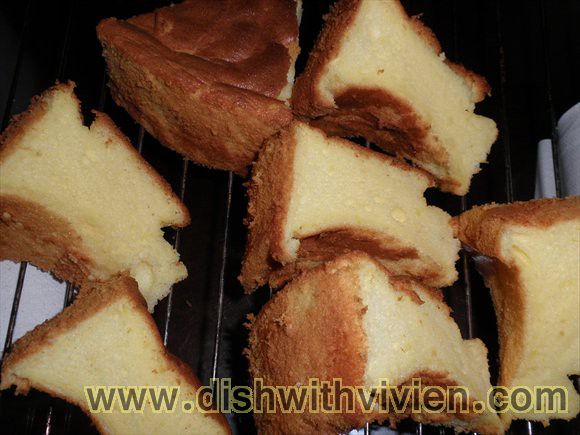
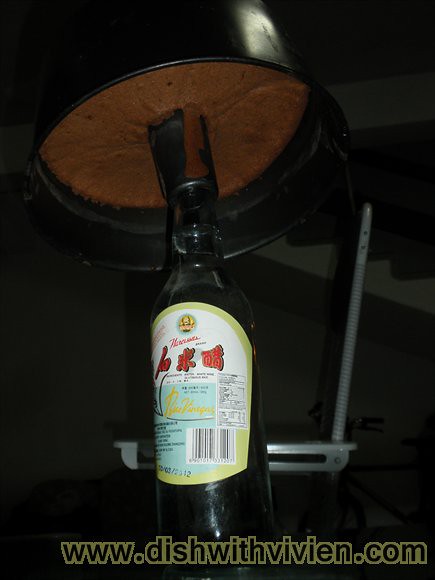
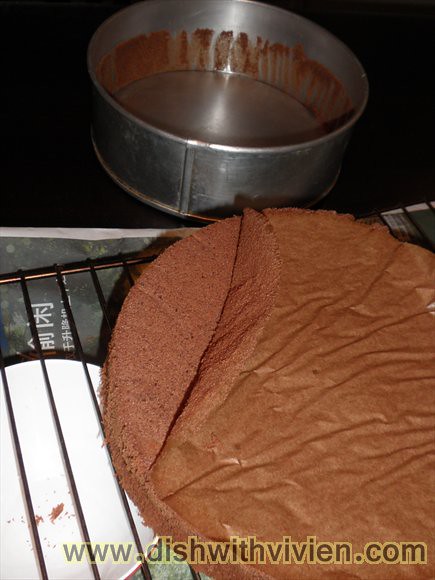
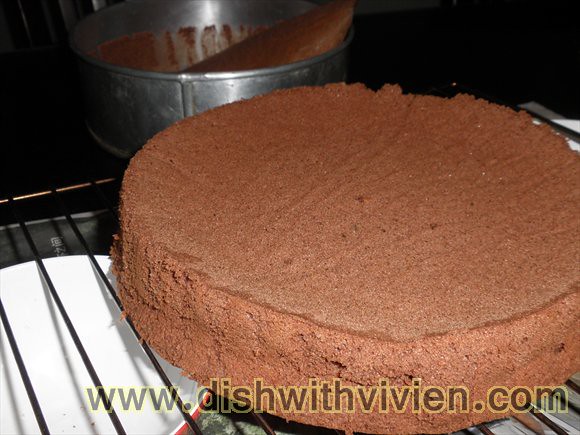
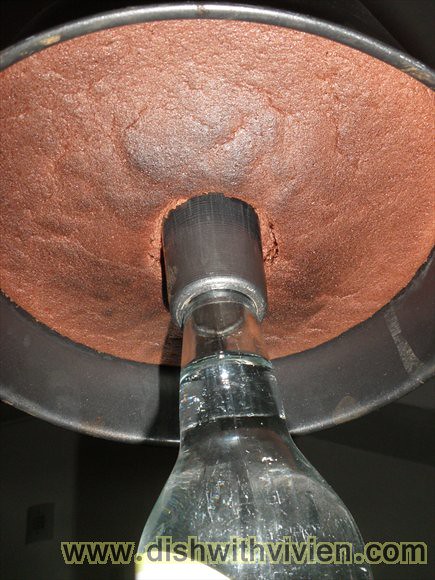
– Flip over and cool the cake

This is a great recipe, do give it a try. Another 2 chiffon recipes below i tried making are also superb as well:

Banana Chiffon

Cream Cheese Chiffon

Recipe for Cream cheese chiffon, adapted from Cooking Pleasure

Egg Yolk Mixture (melt over hot water pan and stir to mix well. Set aside):
100 g cream cheese
40 g butter

Flour mixture (sift):
130 g cake flour
4 tbsp castor sugar
1/2 tsp salt
8 large egg yolks
100 ml milk
Place all the flour mixture in the mixing bowl. Make a well in the centre. Pour in all the liquid ingredients [egg yolks, melted cheese and milk]. Beat together until well combined and mixture is smooth. Set aside.
Egg White:
8 large egg white
small pinch of cream of tartar (less than 1/2 tsp)
6 tbsp caster sugar

– Whisk egg white + cream of tartar till frothy. Add in caster sugar gradually. Continue beating all the time until egg white mixture do not slide.
– Fold in egg white mixture in 3 additions.
– Pour into 9″ chiffon pan and bake in preheated oven at 180C for 15 minutes. Cover and bake 20 more minutes. Last 5 minutes bake it uncovered
– invert pan to cool cake


Recipe: Cream Cheese Chiffon Cake

Posted by vivien | Recipe | Wednesday 27 February 2013 8:54 pm
Tags: ,
30,890 Total Views

CreamCheeseChiffon1

Recipe from Cooking Pleasure, above is flour +butter + cheese + milk

CreamCheeseChiffon2

mixed

CreamCheeseChiffon3

egg white

CreamCheeseChiffon4

After beating the egg white till slightly frothy, add sugar tablespoonful at a time

CreamCheeseChiffon5

The egg white looks ok when i finished beating it till soft peak, but it turns slightly watery and slide around in the mixing bowl when i started mixing into the egg-cheese-flour mixture. At the end, the finished batter is very watery and leave no “bump” on top, cake is practically level on top by itself

CreamCheeseChiffon6

See, some of the water batter seeps from bottom of pan. Above is finished baked cake (in about 35 minutes) flipped over vinegar bottle

CreamCheeseChiffon7

CreamCheeseChiffon8

Surprisingly, the texture is very nice, and the cake is moist!

With barely noticable cream cheese, just feels like a nice moist chiffon cake, recomended. Normally chiffon which i made are not memorable, but this is kinda memorable 😛


Recipe: Orange Chiffon

Posted by vivien | Recipe | Monday 11 February 2013 1:45 pm
Tags: ,
17,202 Total Views

Followed amount specified in The Kitchen 70’s recipe exactly, with exception of substituting lemon juice with cream of tartar, recipe i used as below

4 egg yolk, 15g sugar, pinch of salt

65g vegetable oil, 70g sifted fresh orange juice

85g flour sifted with 15g of corn flour

4 egg white(160g i didn’t measured the weight for my 4 eggs), pinch of cream of tartar, 75g caster sugar

i baked the initial 10mins on 175C, lowering it after the top is quite brown, the last 10 mins on 150C, total baking time only 25 minutes.

OrangeChiffon1

lovely puffed up when done baking, and inverted to a white vinegar bottle

OrangeChiffon2

looks okay here as well

OrangeChiffon3

slightly egg white not mixed into the chiffon resulting in white pockets, wish it is higher cake though, as seens it slight sink

OrangeChiffon4

taste is alright, just wish it is higher instead of sinking down eventually


Recipe: Pandan Chiffon & Coconut Chiffon

Posted by vivien | Recipe | Sunday 9 September 2012 8:43 pm
Tags: ,
18,356 Total Views

Pandan Chiffon Recipe taken from My Food Trail, whereas Coconut Chiffon Recipe taken from The Kitchen 70′s. Yet to find one chiffon which i really like, both chiffon taste similar due to usage of coconut milk which tasted sweet and oily, not to my liking.

For pandan chiffon, I reduced the sugar to 50g + 110g instead of 80g + 125g.

For coconut chiffon, I baked it at 170C for 25 minutes and later covered it with alum foil on top and further baked at 150C for 15minutes. The cake have seized and shrunk after i open the oven to put the alum foil 🙁 Just have to remember never or best not to open the oven for chiffon cake baking.

Latest compilation of important points to note for chiffon: (my previous chiffon making post)

1) Not beat egg white till stiff peaks else it will be hard to incorporate into egg yolk mixture, soft peaks is enough.

2) I think i will use recipe with cornflour next time, as i find those without corn flour will be tougher unless you are using cake flour which is in fact all purpose flour mixed with corn flour. aha. 🙂

3) (most important) Chiffon cake must be inverted immediately after taking it out from oven and must be cooled inverted(2 hours to be safe)  before removing it from the mold. This is to ensure it will not collapse and become a dense cake, case in point happened on 1st and 2nd attempt.

4) Also very important, do not open the oven too long that the cake collapse even when still being baked in the oven, case in point my first and second try, both cake “shrunk”/collapsed even in the oven after i did the toothpick test. For the 3rd attempt, i didn’t do the toothpick test at all.

Chiffon1-Coconut

Coconut chiffon pic

Chiffon2-Coconut

Coconut chiffon pic 2

Chiffon3-Coconut

Coconut chiffon pic 3, dense texture

Chiffon4-Pandan

Pandan chiffon, also usage of coconut milk blended with pandan and seived

Chiffon5-Pandan

slight greenish tint

Chiffon6-Pandan

Chiffon7-Pandan

much better than coconut one texture wise although i find it is still a bit rough, and egg white pockets visible as seen in above due to beaten till hard peak.


Recipe: Chocolate Chiffon Cake (three attempts)

Posted by vivien | Recipe | Monday 30 April 2012 9:34 pm
Tags: ,
28,155 Total Views

First Attempt:

I am following hslingkitchen‘s recipe for chocolate chiffon.

Chiffon-First-Attempt1

Above is egg white+caster sugar on the left… i added extra 10g of oil by accident, original recipe only requires 30g of oil

Chiffon-First-Attempt2

3 egg white beaten till stiff peak; chocolate + flour etc mixture on the right. Having 2 Ikea mixing bowls come in handy for such recipe

Chiffon-First-Attempt3

looks fluffy

Chiffon-First-Attempt4

inverted on a white vinegar bottle after finished baking

Chiffon-First-Attempt5

urgh, turns out dense, rough and not nice.

Second Attempt:

After the unsuccessful first attempt, time to follow the recipe exactly and make this a success. This time recipe taken from dailydelicious, The photo in the blog sure show a moist chiffon.  This time i have more time at hand baking on a Saturday morning instead of weekday night. Remember mum said chiffon recipe with comparatively more egg white than egg yolk will yields better and softer chiffon, so i think i will stick to this recipe from daily delicious instead of the previous one.

Chiffon-Second-Attempt1

I reduced the sugar to 145g instead of 170g specified in the recipe

6 small egg white instead of 5 large egg white

4 small egg yolk instead of 3 large egg yolk

Chiffon-Second-Attempt2

same method as previous: one bowl for egg white, the other for chocolate + flour etc mixture

Chiffon-Second-Attempt3

mix in one third of the egg white into chocolate mixture to lighten the batter before folding in rest of egg white.

Chiffon-Second-Attempt4

folding in gently, but ensuring all egg white are mixed in, else the finished products will have unsightly small pockets of egg white.

Chiffon-Second-Attempt5

all mixed

Chiffon-Second-Attempt6

this time baking in a springform pan as mentioned in this recipe

Chiffon-Second-Attempt7

finished product, looks nice

Chiffon-Second-Attempt8

mistakes start here, i unmold the cake straight away after taking out from oven. Chiffon should always left to cool inverted before removing it from mold, else it will collapse and becomes dense cake instead of light chiffon

Chiffon-Second-Attempt9

continued to remove the bottom lined baking paper

Chiffon-Second-Attempt10

looks nice at the point, the cake is still very warm at this point

Chiffon-Second-Attempt11

Alas the second attempt is a failure as well, this is what happens when the weight of the cake especially middle part collapse and becomes very dense, and no longer light, the side of the cake is slightly better.

Third Attempt:

The third attempt should be my last try, using same recipe as in the second attempt(from dailydelicious). This time i bought large eggs, and followed exactly the recipe’s(3 egg yolk and 5 egg white). I baked it at 175 for 35 minutes(with the later baking stage lowered to around 160C), all the time keeping an eye on the cake as i am not following the temperature/timing in the recipe, but my mum’s(170-175C for 35 minutes). After the first 2 tries, pretty convince the extra 10g of oil on first try is not the reason it turned out to be a dense cake. Success!

Chiffon-Third-Attempt1

Chiffon-Third-Attempt2

Below are my two must notes for a successful chiffon making.

1) (most important) Chiffon cake must be inverted immediately after taking it out from oven and must be cooled inverted(2 hours to be safe)  before removing it from the mold. This is to ensure it will not collapse and become a dense cake, case in point happened on 1st and 2nd attempt.

2) Also very important, do not open the oven too long that the cake collapse even when still being baked in the oven, case in point my first and second try, both cake “shrunk”/collapsed even in the oven after i did the toothpick test. For the 3rd attempt, i didn’t do the toothpick test at all.

I find the temperature is pretty forgiving, it  can range from 150 Celcius to 175 celcius. I find maintaining 175 Celcius for 35 minutes baking can burn the top of chiffon, so 175 Celcius for initial 15mins perhaps and 160 Celcius for the remaining 20 minutes could be doable, will put it to test. While some recipe specifies 150 Celcius, i couldn’t be bothered for now to have this low temperature and having to wait for it to finished baking for a longer time 😛


Next Page »


Designed by Zinruss.com | Powered by Wordpress | Header image by Sandra Khoo @ sandorasan