Pastry Pro Christmas Baking Class, Kepong

Posted by vivien | Recipe | Monday 22 November 2010 10:35 pm
Tags:
36,580 Total Views

Pastry-Pro-Baking-Class1

Pastry Pro is the largest supplier of bakery & confectionery ingredients, utensils, equipment and machines. The sells chocolate, ice cream mix, bread mix, cake mix, waffle/pancake mix, nuts, jam & fillings, flavors & toppings, colouring, frozen fruit, halal gelatin, edible printing, marzipan, flexipan, teflon sheet, decorative ribbons, chef’s hat, pull sugar equipment, air brush equipment, doughnut cutters, oven, mixer, blast freezer, soft serve machine, chocolate tempering machine etc.

Their food ingredients are hotel grade, and their customers are mostly hotels, F&B restaurants etc. They do have a retail shop in their premise for home bakers to get some good quality baking ingredients.

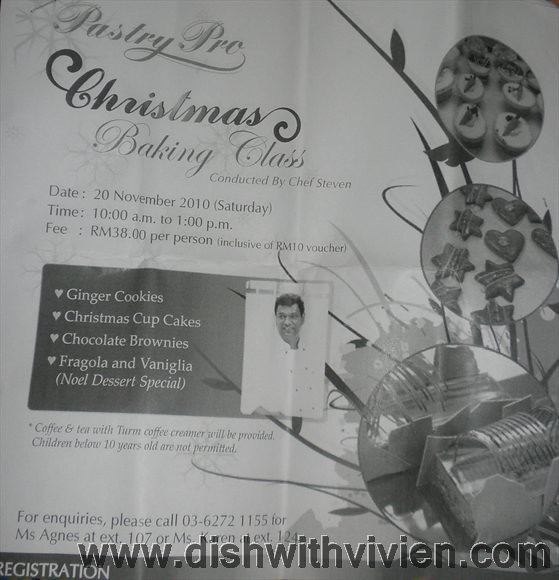
Went to their Christmas baking class last week, RM38 with RM10 cash voucher. Recipe of the day are ginger cookies, Christmas cup cakes, chocolate brownies and fragola and Vaniglia(a simple whipped cream dessert)

Pastry-Pro-Baking-Class2-cupcake

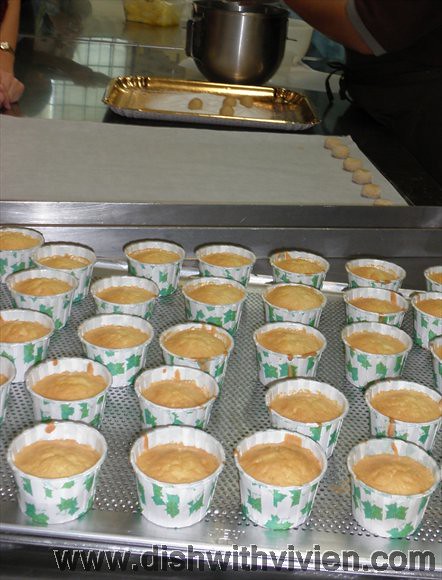
Above is basic cupcake waiting to be frosted and decorated, ginger cookie at the back, love their ginger cookies.

Pastry-Pro-Baking-Class3-buttercream

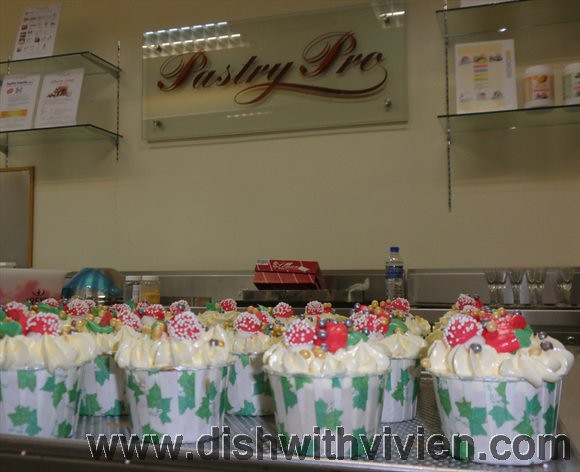
Cupcake frosted with real buttercream, not some shortening or margerine mixture….

Pastry-Pro-Baking-Class4

decorated with sugary pieces

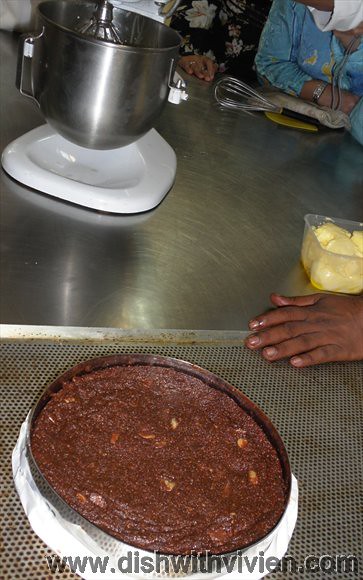
Pastry-Pro-Baking-Class5-Brownie

Chocolate brownie, baked in a ring mould based with parchment paper

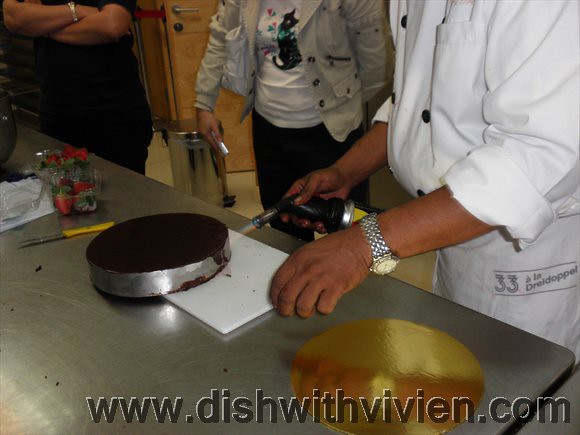
Pastry-Pro-Baking-Class6-unmould

after putting in the chocolate mousse and chocolate covering, chef blow torch the ring mould to unmould the cake

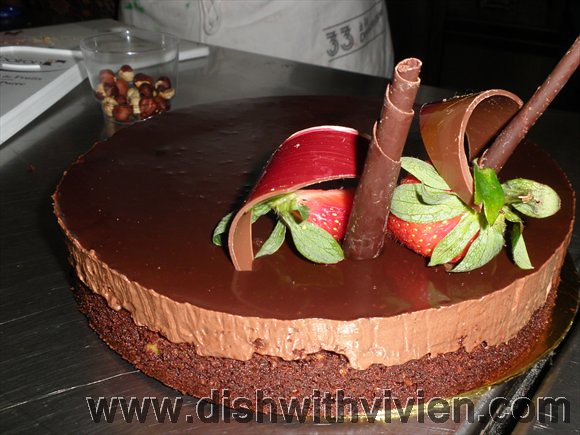
Pastry-Pro-Baking-Class7-brownie-mousse-cake

a rich chocolate mousse cake, made with Felchlin Maracaibo 65%, a chocolate which is as good as Valrhona but slightly cheaper. Pastry Pro selling Felchlin Maracaibo 65% for RM22.35(250g pack).

Pastry-Pro-Baking-Class8-dessert

A simple whipped cream dessert with strawberry and vanilla flavoring, decorated with chocolate curls and strawberry.

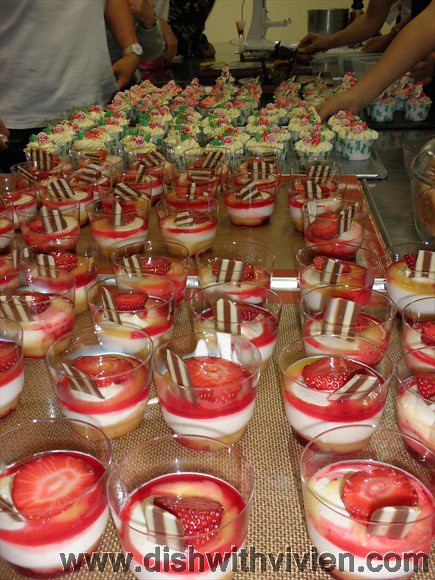
Pastry-Pro-Baking-Class9

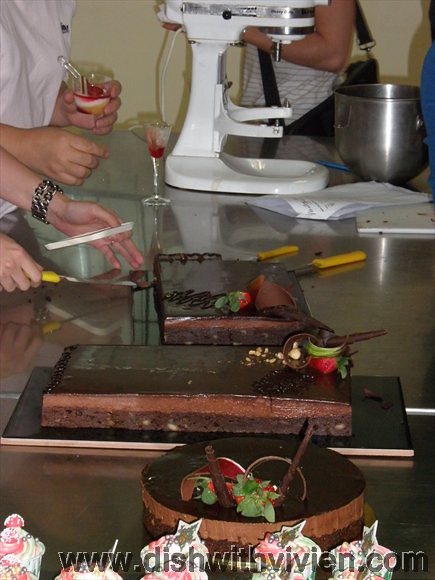
feasting time, chef brought out more of the dessert prepared before hand. It is more than enough for all 30 of us who went for this baking class on a Saturday morning 10am-1:00pm

Pastry-Pro-Baking-Class10

2 more square cakes prepared before hand was brought out too. Yummy although it can be a bit too rich, a small piece will be sufficient.

Overall, I like the ginger cookie the most which is made with Felchlin california almond paste, Dreidoppel Lebkuchen Spice mix and pure ground ginger, the recipe could use an extra pinch of ginger, the ginger taste is not prominent enough.

Address: Pastry Pro Sdn Bhd (owned by Growth Concept Sdn Bhd) they have distributors in Langkawi, Penang, Perak, Johor, Pahang, Sabah & Sarawak.

8, Jalan 3/37A, Industrial Area,

Taman Bukit Maluri,

Kepong,

52100 Kuala Lumpur

Telephone: 603-6272 1155

Fax: 603-6272 1188

Website: Pastry Pro

Facebook: Pastry Pro Facebook


My macaron baking experiments/adventure

Posted by vivien | Recipe | Wednesday 13 October 2010 8:25 pm
Tags:
31,513 Total Views

MacaronExperimentA1-agedEggWhite

a very lengthy macaron post ahead

Macaron has been all the rage in Kuala Lumpur this year. They are sold per piece at the price as low as RM2-RM2.50(Whisk, Empire Gallery Subang & Babycakes Sweet Shoppe, Jalan Tun Razak) to as high as RM5 per piece in Boudoir(pedicure/manicure place in Bangsar Village). I have never been fan of sweet stuff, especially sugary sweet dessert. But guess the macaron movement have affected me to certain extent, and this could also be my retirement plan… hahaha… imagine selling a little piece for RM2-RM5… ๐Ÿ˜€ Anyway, the technicality of making macaron is frustrating, it behaves like a cranky female which wants everything according to her mood, if not it will crack up, literaly.

Below the recount of 4 macaron baking sessions which i had, the first 3 are not successful, the 4th finally has some nice feet although it doesn’t look very neat. And that is after reading all macaron chronicles post in Kitchen Musings, she does have a lot of tips for macaron baking.

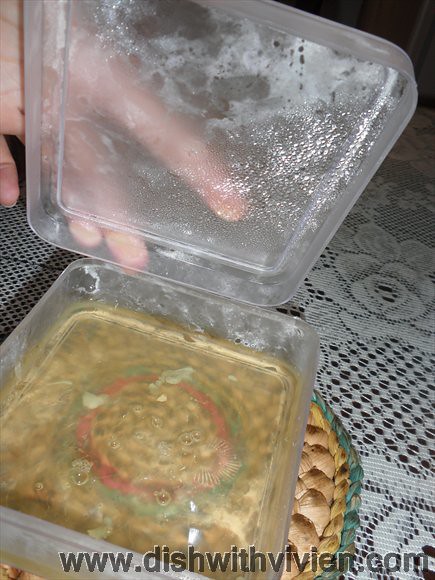
Above is egg white aged minimum 3, maximum 5 days in the fridge. Aging egg white mean cracking the egg white into a container, cover it, and let it sit in the fridge. Doing this will make some water evaporate from the egg white, making it less liquidy but with the same amount of protein structure needed for macaron

1st macaron making:

MacaronExperimentA2-walnutPowder

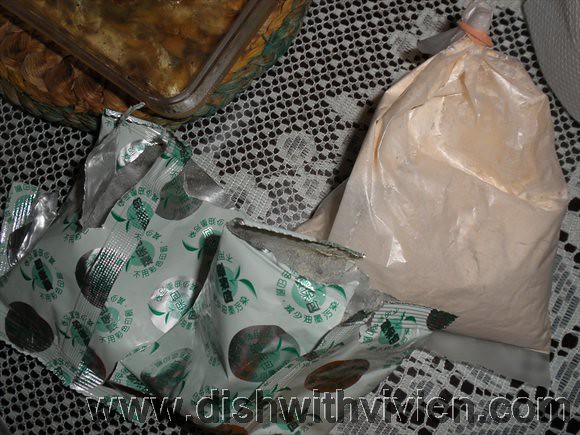
newbie taking macaron for a spin, using walnut powder… macaron are most often use ground almond, bought it in a chinese sundry shop, it is a walnut drink thingy, ingredients are walnut powder + soy powder + oat powder

MacaronExperimentA3-ingredients

ingredients: aged egg white(3 to 5 days), 2 packs of walnut powder, caster sugar and icing sugar, that’s it, the ingredients are simple, just 4 ingredients for a basic macaron shell.
MacaronExperimentA4-walnut-powder-icing-sugar

2 packs of walnut powder mixed with icing sugar, shake it in a plastic bag… for this first macaron baking, i didn’t have a electronic kitchen scale, everything is measured roughly which explain why it fails terribly.
MacaronExperimentA5-sieve

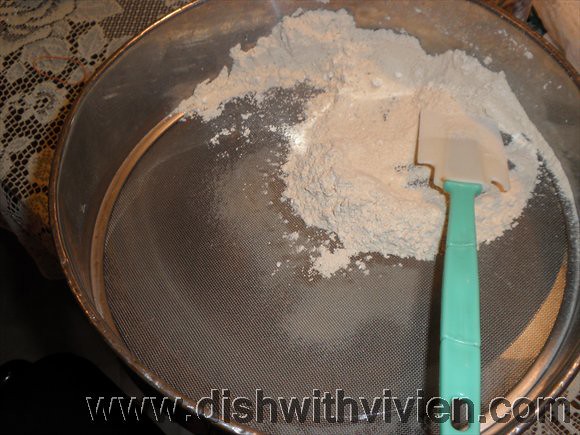
sieve it(walnut powder + icing sugar mixture)

MacaronExperimentA6-egg-white-caster-sugar

beat egg white and icing sugar

MacaronExperimentA7-beat-till-stiff

beat till stiff peak but still glossy(that’s what they say, don’t know how to differentiate glossy and dry egg white)
MacaronExperimentA8-mix-in-walnut-icing-sugar

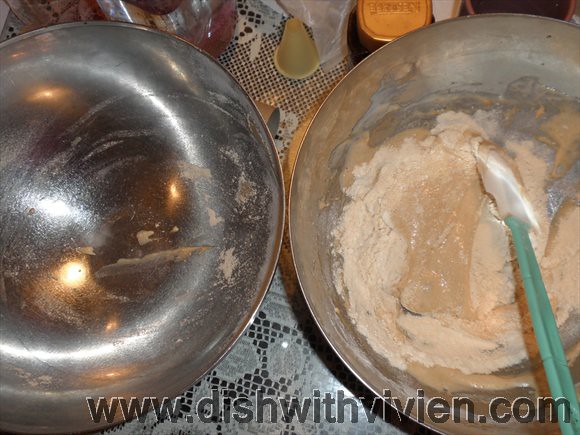
mix the dry ingredients(walnut powder + icing sugar) into meringue(egg white + sugar beaten up)

MacaronExperimentA9-blended

all combined

MacaronExperimentA10-piped

piped shells

MacaronExperimentA11-piped-shells

beat/rap the piped shells on the counter to remove surface air bubbles

MacaronExperimentA12-dried-shells

dried macaron shells(after leaving them in an air conditioned room for at least 20 minutes, maximum an hour for a dry skin to form, this will prevent the top from cracking when baked in oven
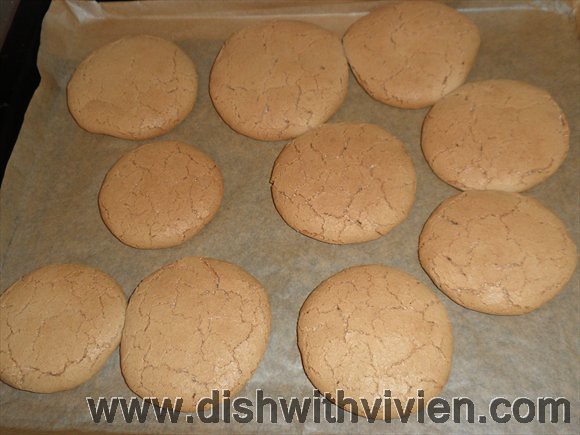
MacaronExperimentA13-finished-product

ooh, so pretty… not, they are supposed to look smooth on top and with chiseled feet at the bottom, Failed!

2nd macaron making:
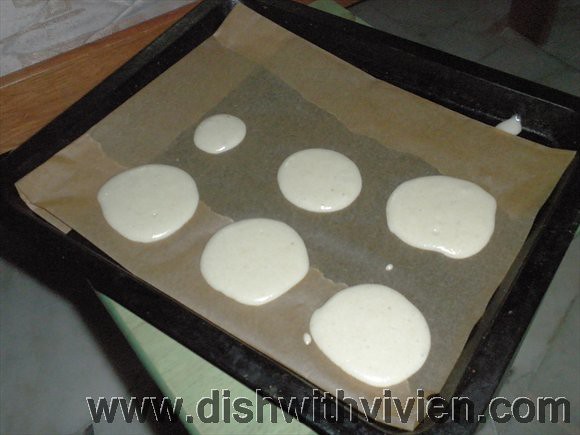
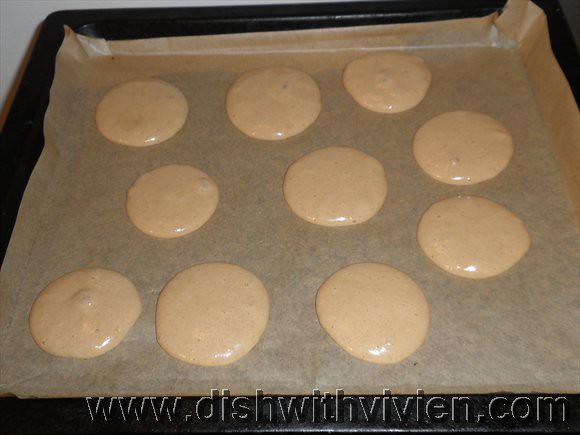
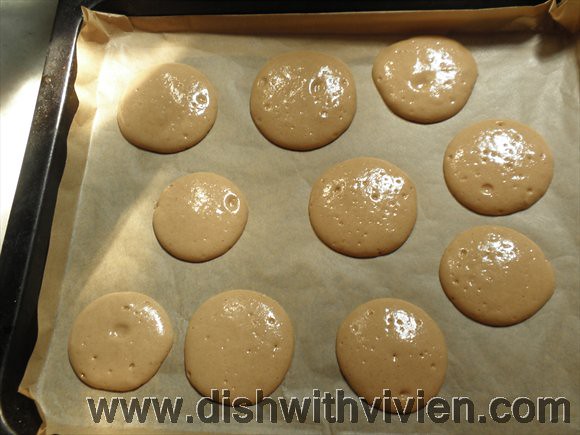
MacaronExperimentB1-piped-too-watery

so watery, can hardly pipe them at all, it was dripping all over, i measured ingredients using electronic scale. Later found out that ground almond must be put into food processor for a blitz for it to be finer, else the whole mixture will be too runny caused by not enough dry mixture to absorb the meringue
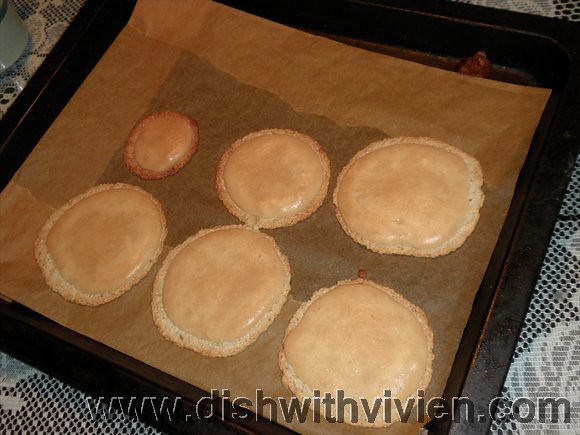
MacaronExperimentB2-duck-feet

surprisingly it has feet, but why is it spread out? so ugly… According to Kitchen musing, this could be due to oily nuts, and i remember using a sift which is too fine, and i used spoon to press the ground almond+icing sugar through the sift, that must have caused the ground almond to be greasy
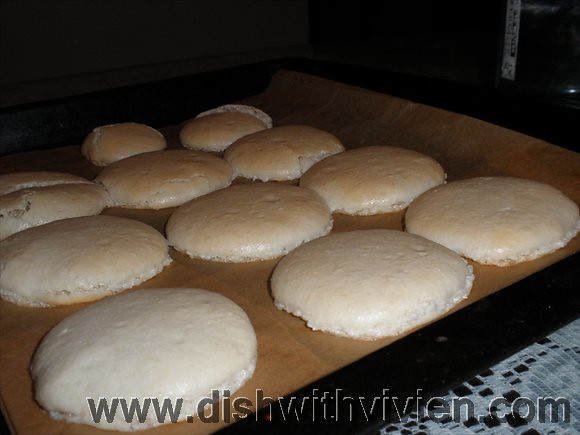
MacaronExperimentB3-with-feet-but-crack

looks fine from this angle, but its feet spread out and fall flat after i took it out of oven

3rd macaron making:

MacaronExperimentC1

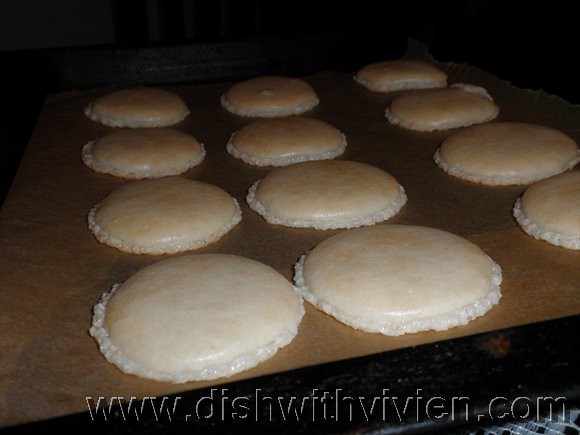
feet spread out as well, still didn’t know about the greasy nut factor, still pressing the ground almond from the fine sift. Nathalie from Nathalie from Nathalie Gourmet Studio did mention we have to buy sift which holes are not too small
MacaronExperimentC2

feet still spread out

4th macaron making:

MacaronExperimentD1

I am more prepared this time, wanted to buy the placemat with rounds from Ikea, but i think they are not carrying them anymore, so got the above small squares and large circles placemat from tesco, depending on what size of macaron you want to make. Remember to use baking paper not greaseproof paper, both you can get from tesco, Rohani Jelani told us it will stick to greaseproof paper, must use baking paper, both looks similar but their texture is slightly different

MacaronExperimentD2

lay over a baking paper over the placemat, pipe the shells accordingly
MacaronExperimentD3

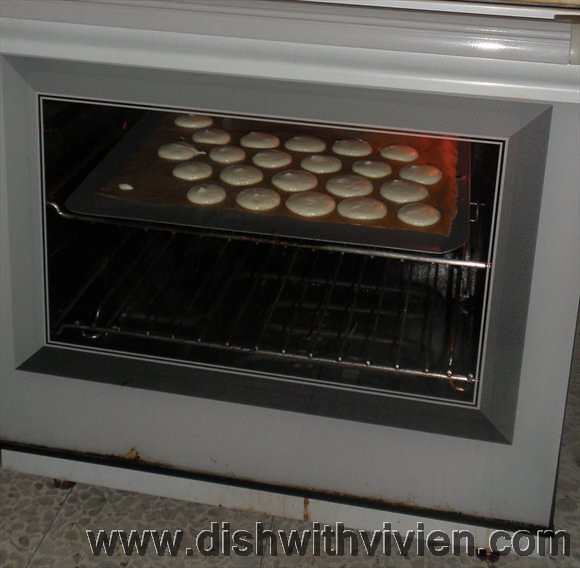
bake in on a cookie sheet, 150C, about 12 minutes
MacaronExperimentD4

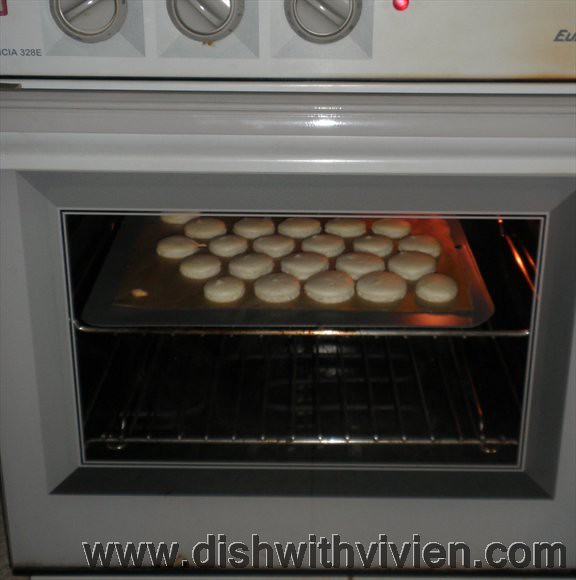
wooo, nice feet after 3 minutes, the feet should appear in the first 3 or 4 minutes into the oven, else it probably a fail
MacaronExperimentD5

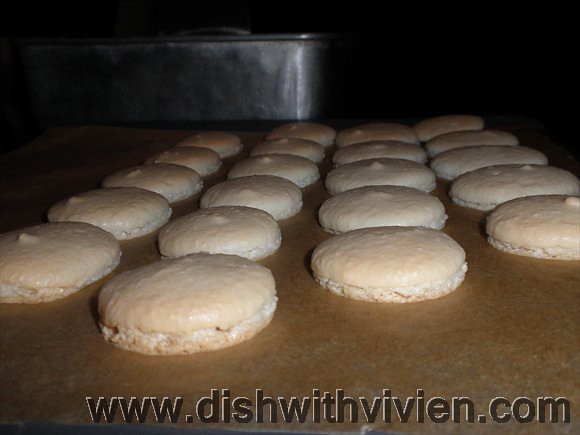
nice feet

MacaronExperimentD6

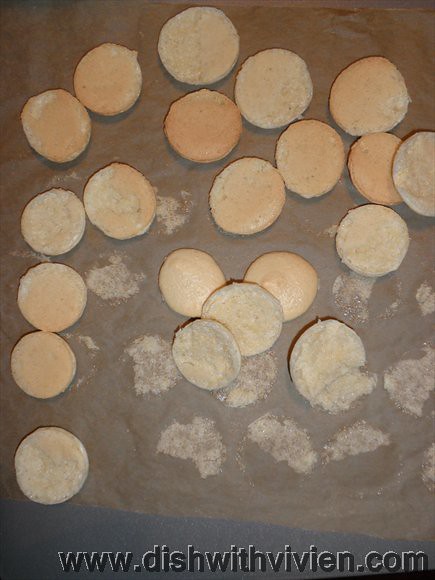
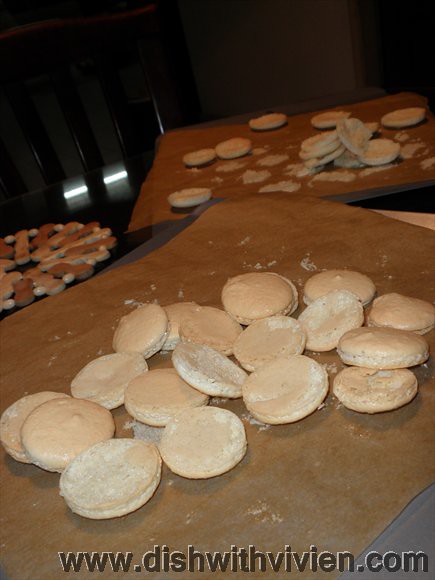
first batch, i slightly underbake it which makes it hard to be removed from the baking paper
MacaronExperimentD7

second batch, much better, can remove from baking paper with ease

MacaronExperimentD8

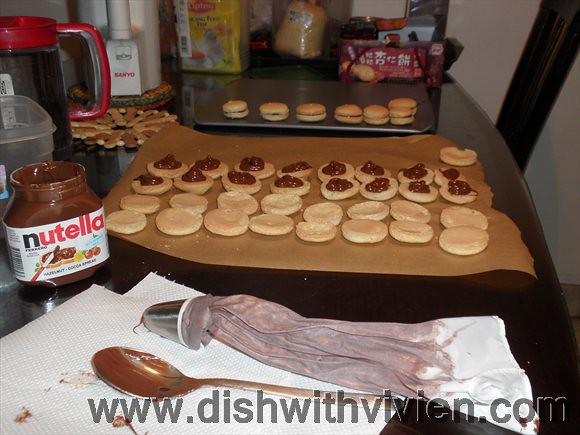
put into a container and into fridge, you can fill in the chocolate etc filling on the next day
MacaronExperimentD9

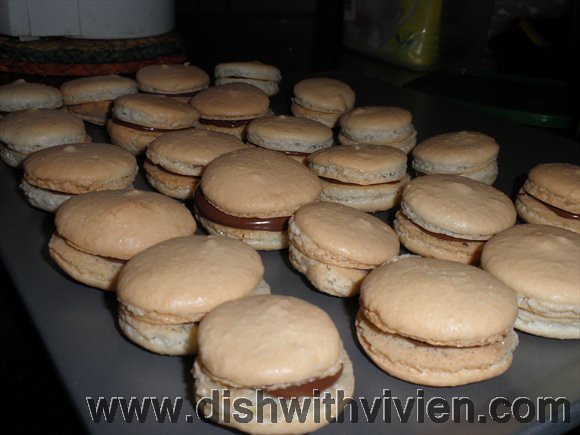
go the easy way by piping in ferrero nutella ๐Ÿ˜›

MacaronExperimentD10

done, that conclude my macaron experiments. Conclusion, it is still very sweet, i find most probably the meringue will be sweet as the recipe you find online is of roughly the same amount of sugar, the only way to make them taste less sweet is probably to make a filling which is less sweet to fool the tastebuds :p

Some tips i found from Kitchen Musings:

– egg white room temperature

– Fold in your dry ingredients in at least 4 additions. Do not dump the whole thing into the beaten foam or you might end up with a runny batter.

If you have trouble controlling the flow of your batter and it keeps linking to two mounds together as you move about piping, chances are youโ€™ve got an over-beaten mixture.

greasy nuts can be the bane to your macaron aspirations. A sure sign of this is when the feet tend to spread out like a duck beak.

– passion fruit milk choc fillings is the best


Recipe: Chocolate Puddle cookie, accidentally made it into Chocolate meringue

Posted by vivien | Recipe | Wednesday 19 May 2010 9:06 pm
Tags:
29,612 Total Views


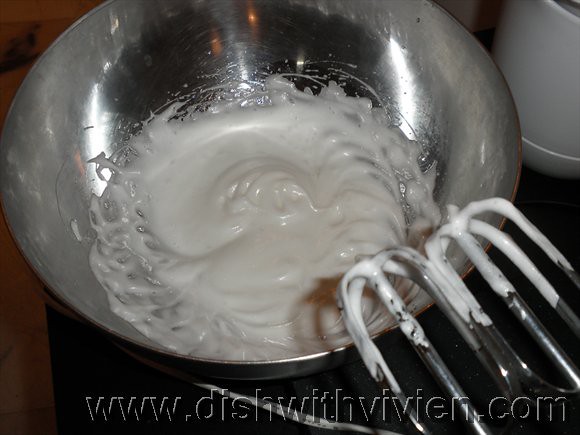
An attempt to make chocolate puddle cookie from 101 Cookbooks. Actually made it twice. First time, i misread and beat the egg white till stiff peak stage, but actually the recipe specify mixing in the egg white as is.

First Attempt:-

Left: Cocoa powder + sea salt + walnut(toasted, cooled and roughly chopped).

Right: cocoa powder + sea salt + walnut all mixed up.


Left: Egg white beaten till almost stiff peak stage, anyway above is 2 egg white with about 150g of caster sugar. (i halved the recipe, also original recipe specify icing sugar which is not available at home, so caster will do, anyway, caster melted while beating the egg white…)

Right: fold in the egg white with a dash of vanilla

all fold in

oops, the recipe in 101 Cookbooks doesn’t look like this, why are mine so puffed up and big?

Left: second batch of “chocolate meringue”

Right: finished product, after 15 minutes baking time

Left: peel the chocolate meringue off baking sheet, it will be better to peel it off after being cooled for a while, else it easily break into pieces

Right: left on wire rack to be cooled completely.

Second attempt:-
Left: measuring all the ingredients, icing sugar this time on the scale
Right: cocoa powder + walnut + icing + sea salt all mixed up. Then put in 2 egg white into the mixture

Left: look more like what is in 101 Cookbook, don’t overbake these, else it will harden and stick to the baking sheet.
Right: finished product, peel it off the baking paper after cooled for a while, else it will break apart while peeling the baking sheet off.


Chocolate puddle cookie. Actually prefer my variation of beating the egg while to almost stiff peak. Chocolate meringue style is less cloying, more crispy/airy, and guilt-free tasting. Whereas chocolate puddle cookie is more gooey, sticky, looks extremely chocolatey(although i use the same amount of cocoa powder for both attempt) and actually taste sweeter to me, probably due to the more “compact” style, suitable for days when you just want to munch on something sweet, comfort cookie.


Recipe: Almond Tuiles/Almond Crisp

Posted by vivien | Recipe | Sunday 9 May 2010 7:26 pm
12,711 Total Views

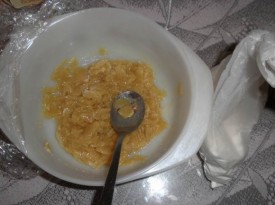
Left: a failed attempt in making my favourite munch – Almond crisp recipe taken from Lily’s Wai Sek Hong. ingredient: almond flakes, vanilla essense, sugar, 1 egg white

Right: mix them all up, while melting some butter in microwave

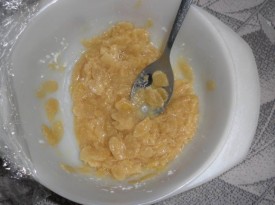
Left: mix in melted butter, and leave overnight in fridge

Right: the next day

Left: mix in 20g of cake flour

Right: all mixed

spread on baking sheet

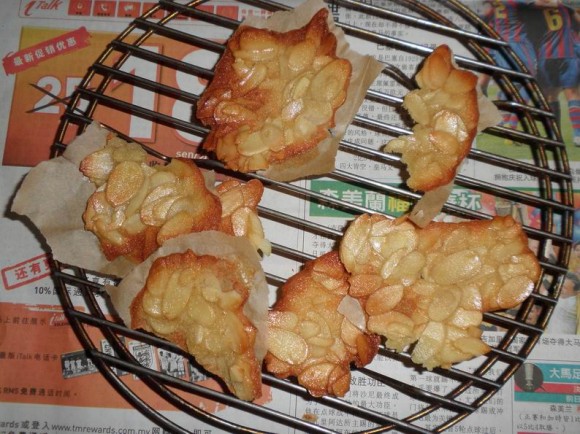
cooked

failed because they stick to the baking sheet :\ think it has to be baked directly on baking tray


Recipe: basic sweet bun topped with cheese slice

Posted by vivien | Recipe | Sunday 28 February 2010 7:36 pm
Tags:
28,039 Total Views

bread

made this a while back, first time having success in baking bread, or bun for this matter. The bread has good soft texture, however it don’t keep well, get dry after about 2 days, maybe i didn’t put in bread improver/dough improver etc etc ๐Ÿ˜› Recipe taken from Cheese Sticks@Oh bin, it is a chinese blog. Above is after the dough being knead for a good 15-20 minutes(approx)

have finally conquer the fear of baking bread, baking bread always seems so unattainable, i mean how does mere flour turn into soft pillowy bread with holes uniformly dotted in it… One of the secret is while mixing the flour with liquid ingredients(egg etc) to form into dough above, it will be very wet initially(almost seems like it is not going to hold together), but be patient, don’t add more flour frantically into it, but just continue to work it in a bowl, it will gradually become more workable(less wet), the later turning the dough onto a working surface, give it a good 15 minutes knead till it pass the window pane test(or almost passing the window pane test) which is stretching a little ย bit of the dough on your hand, and you will actually be able to see light thru the dough, meaning gluten(bread structure) has developed nicely, and the dough is “elastic” enough to form a good soft bread. If it doesn’t pass the “window pane test”, you just have to knead it longer before letting it rise.

after 1 hour proof

after the first rise(about 1 to 2 hours) under humid area. I put it near the front porch where the sun shines in

with cheese

shaped into bun, give them another 1 hour or so rise(second rise), brush egg wash, quartered cheese on top, and leave some buns plain as it is.

after baked

finished products, nicely joined to each other

soft bread

nice soft texture

Recipe source: Oh Bin


« Previous PageNext Page »


Designed by Zinruss.com | Powered by Wordpress | Header image by Sandra Khoo @ sandorasan