Recipe: Pumpkin Pie

Posted by vivien | Recipe | Sunday 17 February 2013 9:43 pm
24,246 Total Views

Pastry (recipe from Savour Fare)
6 oz. (170g) flour
½ tsp. salt
4 oz. (113g) butter, frozen, cut into cubes.
2 oz. (57g or more) ice water
OR
340g flour
1 tsp. salt
226g butter, frozen, cut into cubes.
114g or more ice water

Filling: (recipe from Serious Eats)
15 ounces (425g) pumpkin puree
11 ounces (312g) evaporated milk
125 grams light brown sugar
1 tablespoon ground ginger
1 tablespoon cinnamon
1/2 teaspoon ground cloves
1/2 teaspoon freshly grated nutmeg
pinch of salt
2 eggs, 2 egg yolks
PumpkinPie1

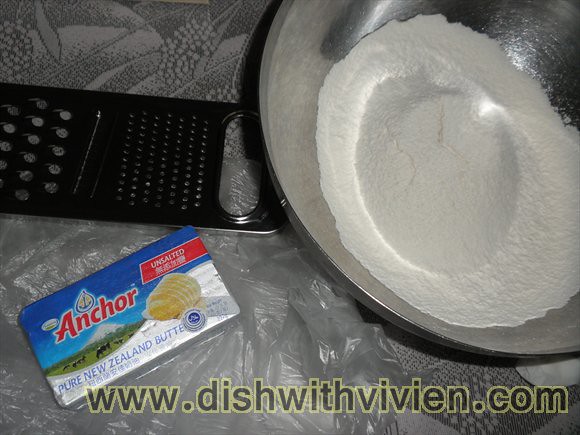
A bar of Anchor unsalted butter, 340g of flour and 1 teaspoon of salt is just right to making 2 batch of pie pastry, one to be stored in freezer for future use.

One tip from other website is to grate frozen butter into flour, and this i find have to be done in an air con room just cause the heat and humidity from Malaysia will melt the butter and make them stick together.
PumpkinPie2

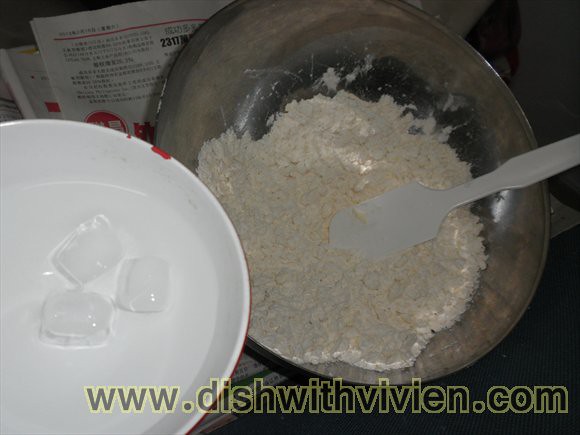
butter mixed into flour, now to mix some ice water to complete the dough. Use spatula to fold water to prevent melting of the butter “flakes” in flour. Form into a disc, wrap in plastic wrap and chill until firm. (about 20 minutes to 2 hours)
PumpkinPie3

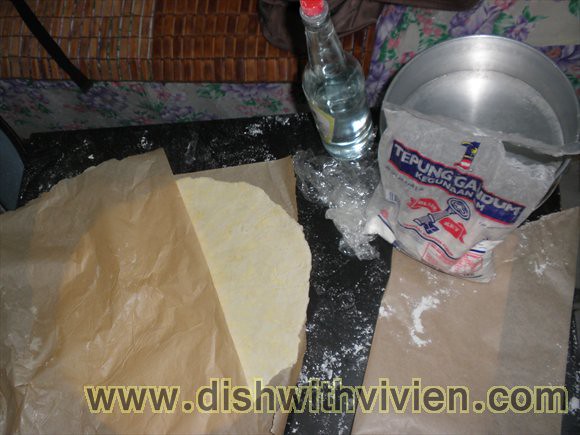
After resting the dough in fridge, put the dough between 2 greaseproof paper and flour the dough so that it doesn’t stick to the paper, i used a white vinegar bottle as a makeshift rolling pin, works well for me. Peel off the parchment/greaseproof paper and flip it over constantly, adding more flour to prevent stickiness. Do this in an aircon room to prevent melting butter.
PumpkinPie4

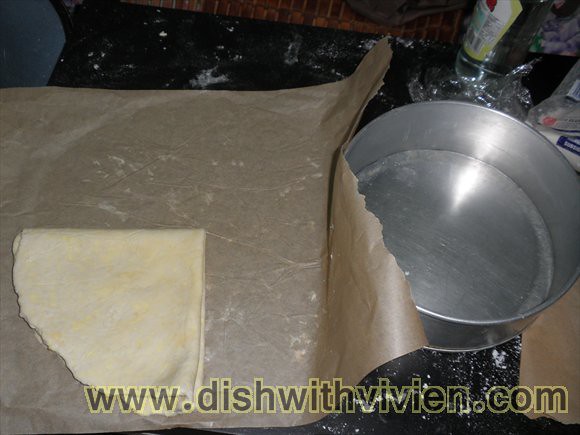
Quarter fold the dough and move it to a pie plate. I used a springform pan with detachable bottom

PumpkinPie5

lay the dough, make sure not to stretch it to prevent shrinkage in the oven which will break the dough. Chill the pastry before baking (at least 15 minutes)
PumpkinPie6

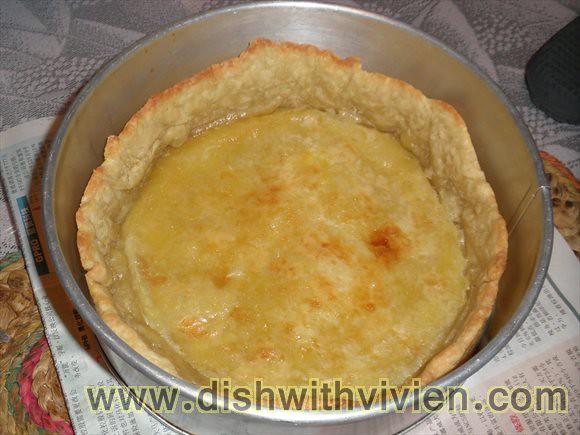
Prick all over with a fork (bottom and sides of pastry) Line with parchment paper, and fill with pie weights(rice/beans). Brush with egg white halfway through baking to harden bottom of dough. The pastry have shrank much after baking. And fortunately the pastry doesn’t stick to the pan even though i didn’t butter the pan due to high fat content of the pastry which cause butter to drip down from bottom of the springform pan onto base of oven.

Bake at 215C for 16 minutes (the crust should be pale gold, and dry to the touch) I don’t know why, mine turns out very oily
PumpkinPie7

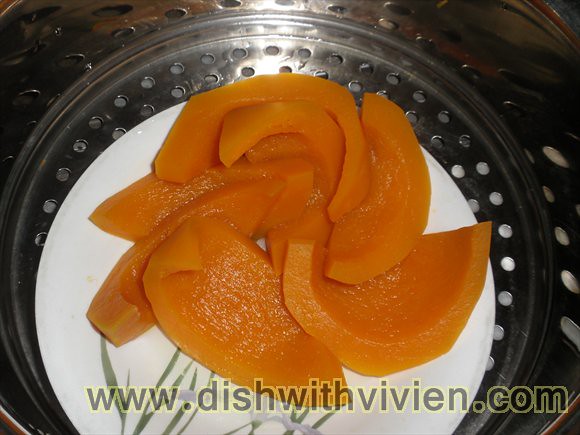
at the same time, steam one pumpkin, here is about 400g of pumpkin
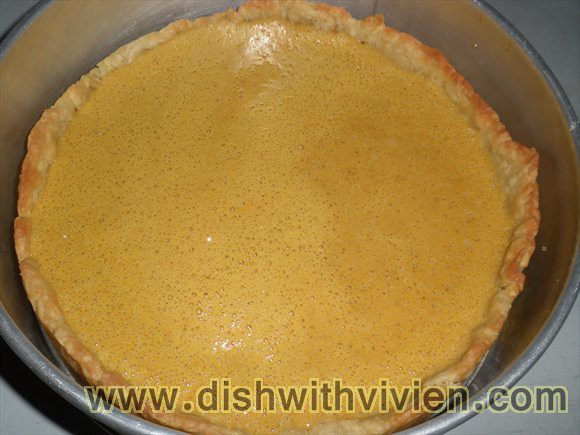
PumpkinPie8

after blitzing all the fillings, should have sieve the pumpkin fillings into the pastry instead of pouring it in straight away, due to blitzing which cause the mixture to be filled with air pockets. Sieving it could potentially remove the air bubbles and foam. Pour the filling into the cooled shell
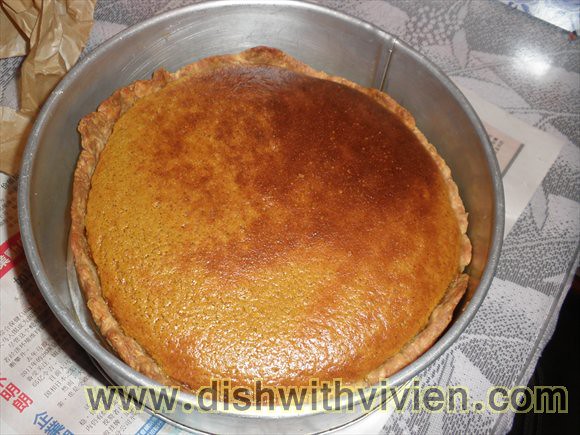
PumpkinPie9

Some website advise to pull out the pie from oven at the first sign of puffing, and mine puff up 25 minutes into baking. Feeling unsure, i left it in about 10 minutes more.

bake at 350 (180C) for more than 25 minutes placing pie above cookie sheet.

PumpkinPie10

After cooled, the puffed pie will sink back in

PumpkinPie11

Very wobbly and soft and the pastry is a bit soggy at the bottom, far from perfect. The filling flavour is there but the texture is not smooth and very soft, could sieving the pumpkin filling have helped save the filling?
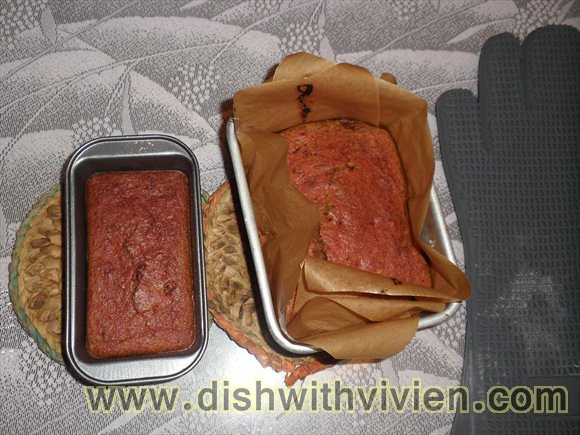
 

Recipe: Beetroot cake

Posted by vivien | Recipe | Sunday 17 February 2013 9:43 pm
Tags:
27,495 Total Views

Basically a carrot cake recipe substituting carrot with beetroot, recipe from lemonpi.

Only change i made is reduce the sugar from 200g to 150g, which in the end the cake is slightly not sweet enough

BeetrootCake1

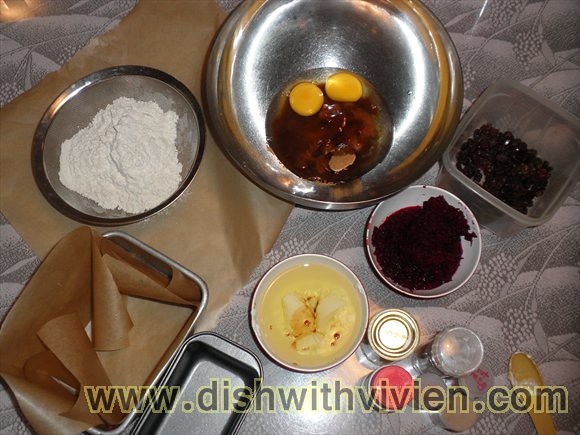
Ingredients, the tedious part is grating of beetroot which texture is a bit hard and hard to grate

BeetrootCake2

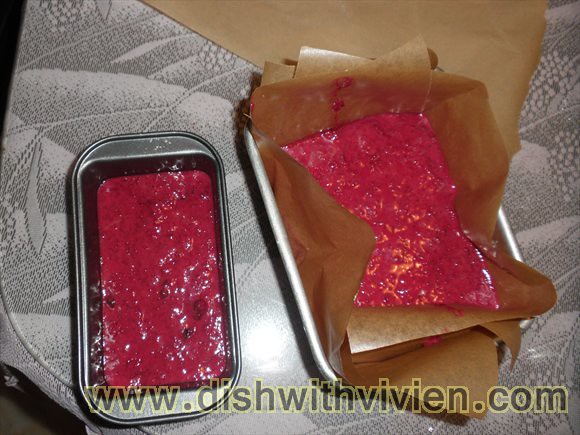
beetroot cake ready to go into oven

BeetrootCake3

doesn’t look red at all eh?

BeetrootCake4

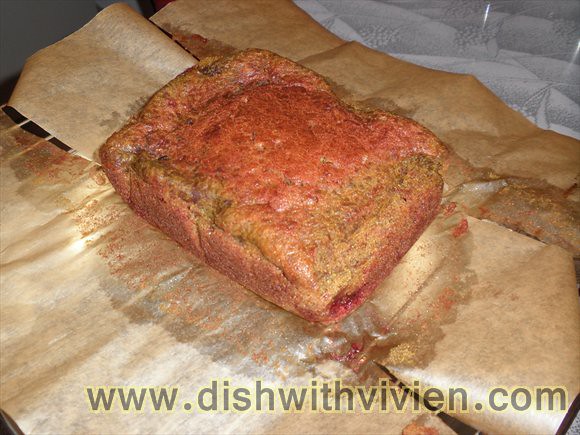
Done

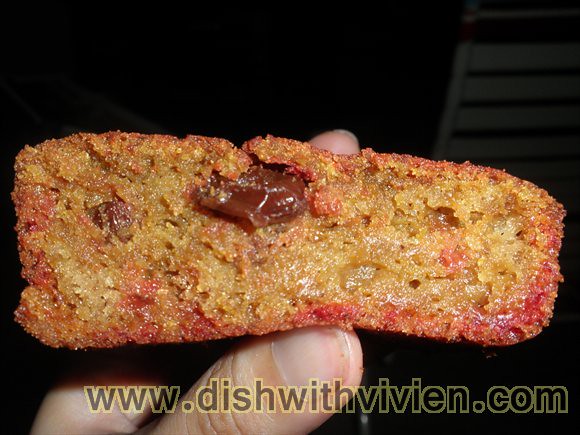
BeetrootCake5

the cake is slight too wet, just ok for me.


Little Yum Yum, Kota Damansara

Posted by vivien | Kuala Lumpur and Selangor | Sunday 17 February 2013 7:43 pm
14,192 Total Views

YumYum1

One of my most favorite restaurant, located in Kota Damansara. Their food is honest, reasonably priced, homey and very nice. My previous visit to Little Yum Yum on July 2012

YumYum2

starter menu

YumYum3

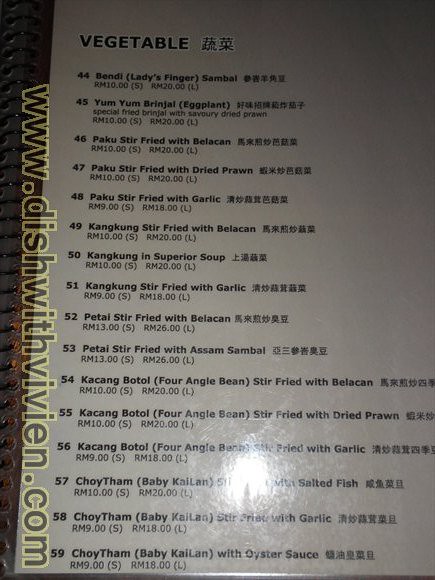
vegetable menu

YumYum4

ice lemon tea with too much sugar, look at the sugar syrup at the bottom, i literally did not stir the sugar  and just drank the top of the ice lemon tea.

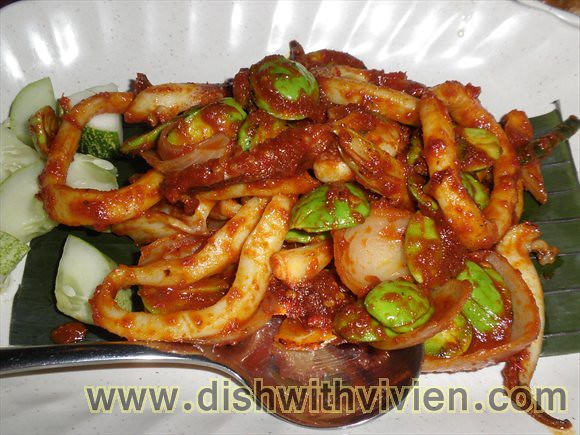
YumYum5

sambal petai prawn

YumYum6

must order kerabu pucuk paku, RM15 very aromatic and nice

YumYum7

another must order, their signature yum yum Egg, simple sunny side eggs top with mince meat sauce

Their cendol is must order as well, not too sweet at all, and with nice red bean, a portion of it (RM4) can be shared between 4 person each having a small bowl.

Address: Little Yum Yum Sdn Bhd
E-45-G, Jalan Teknologi 3/9,
Bistari D’Kota (Off Persiaran Surian),
47810 Kota Damansara,
Petaling Jaya,
Selangor
Business Hours: 11.30am-2.30pm. 5.00-9.30pm (Closed on Mondays)
Telephone: 03-6148 3936 or 019-774 9366
GPS Coordinates: N 03′ 09.880″ E101′ 34.463″

Post by other blogger:

Sek Pau Mei?

grightnow

Footsteps – Jotaro’s Travels


Urbano e Fresco, Publika Shopping Mall

Posted by vivien | Kuala Lumpur and Selangor | Wednesday 13 February 2013 5:30 pm
13,623 Total Views

UrbanoEFresco1

Complementary bread

UrbanoEFresco2

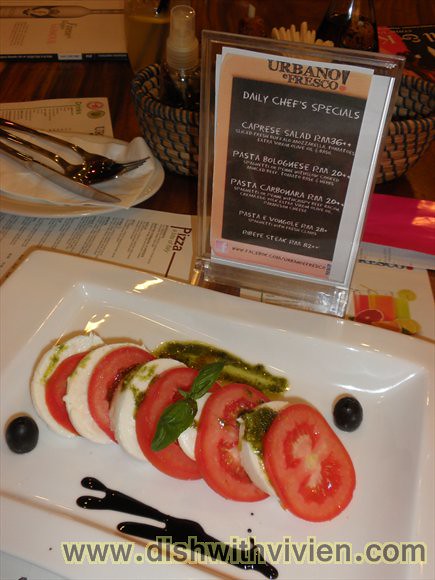
Caprese Salad, RM36++

First time having fresh mozarella, not bad, creamy cheese paired with sweet ripe tomato and drizzles of thick sweet balsamic vinegar

UrbanoEFresco3

Salad with prawn and avocado, just ok, the prawn is terribly floury and not fresh at all

UrbanoEFresco4

Seafood Aglio Olio, same as salad, the prawn is terribly floury.

It is probably a safe bet to steer clear of seafood, their pizza and pasta without seafood would be safer choice

Post by other blogger:

The Yum List

Smitten by Food

Journey of the Little Biscuit


Recipe: Steamed Tapioca Sago Cake

Posted by vivien | Recipe | Wednesday 13 February 2013 5:09 pm
12,945 Total Views

Recipe from Jenny’s Delicacy

Amount i used for this recipe:

Tapioca layer:
900g grated tapioca (from 1.2kg of whole tapioca)

150g coconut milk (diluted)

3/4 teaspoon of salt

190g sugar

Sago layer:

300g sago

120g sugar

SagoTapioca1

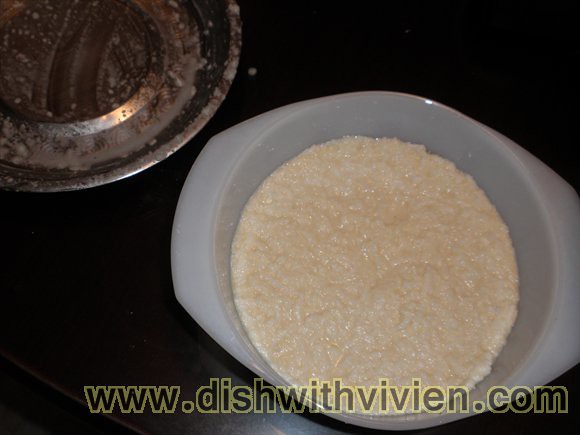
Tapioca layer

SagoTapioca2

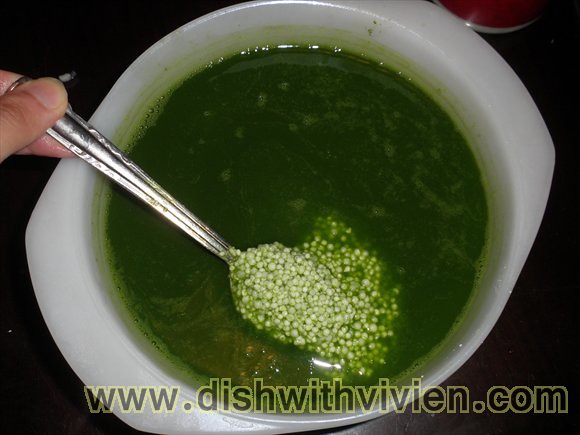
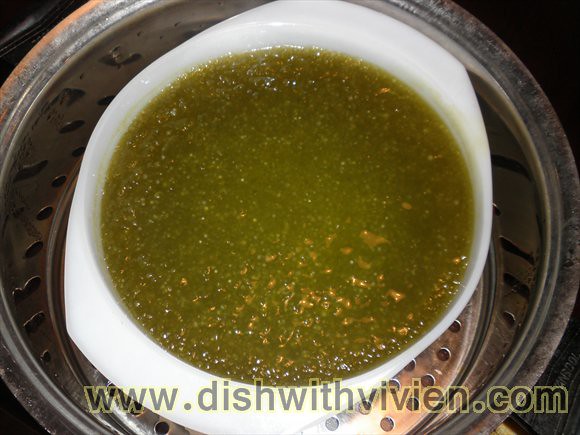
Sago soaked overnight in pandan water (pandan leaves blended with water and sieved) Used a lot of pandan resulting in very green colour, next time will use less pandan with slight pandan hue will be enough.

SagoTapioca3

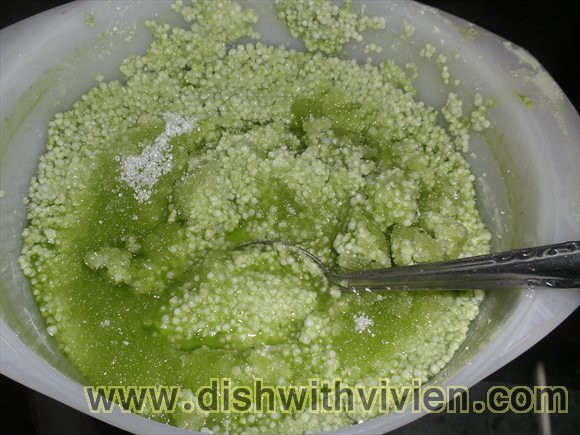
Sieved sago to remove pandan water next day, add sugar

SagoTapioca4

Steamed tapioca layer for 40 – 60 minutes and sago level for 20 – 40 minutes.

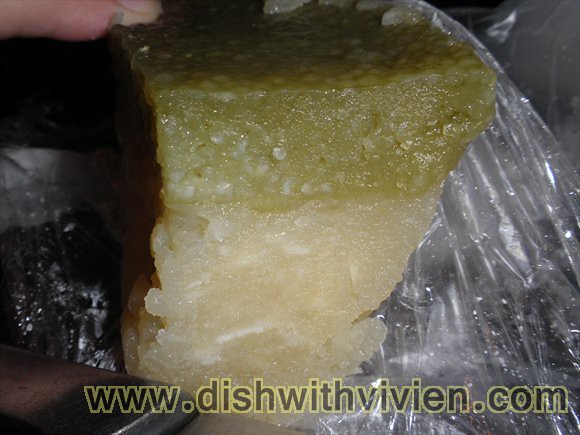
Done with sago level on top and tapioca level below.

SagoTapioca5

Closed up of cross section.

Not bad, can try, better eaten when slightly warm for soft texture. Not advisable to put into fridge as it will harden.


« Previous PageNext Page »


Designed by Zinruss.com | Powered by Wordpress | Header image by Sandra Khoo @ sandorasan